

If you're a newbie just starting out, take two minutes to read this first. Alice in Cradle has a moderate amount of puzzle content—not too much, not too little—but many beginners tend to get stuck in seemingly random places. This guide lists all the puzzle points where players commonly get stuck; just follow the order and grab them one by one. Keep these key points in mind:
Double Dodge is a must-get unless you have absolutely zero hand-eye coordination
The Long Staff increases attack range and is very practical
More Enhancement Slots are always better—high priority
Some puzzles require specific magic, so progress the story first and come back later
Alright, enough chit-chat—let's get to the meat of it.
Table of Contents
1. Noel's Trap
Many newbies get in and can't get out, hence the name. This place is indeed a bit of a trap—first-timers almost always fall for it.
Solution: Just crouch from above to get out. That's it—simple, but many don't know.
2. The Teacher's Trial
Nothing much to say—if you can't beat it, lose three times in a row to skip. This stage is basically a test of your dodging fundamentals.
Pro Tip: The S version made it much easier with light directional dodging. The teacher's attack pattern is three hits, with a gap between the first and second. The flow is: run to the far left, hold Shift, dodge right for the first hit, dodge left back, dodge right for the second hit, dodge right again for the third, then hold Shift until the smoke clears.

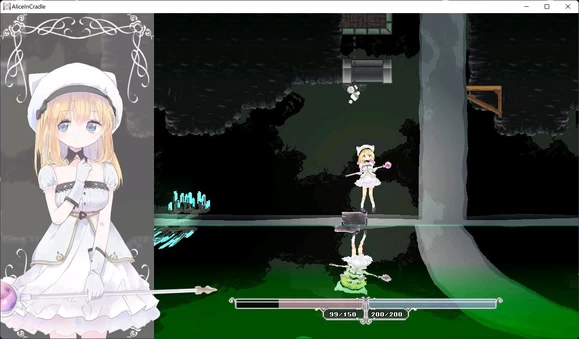
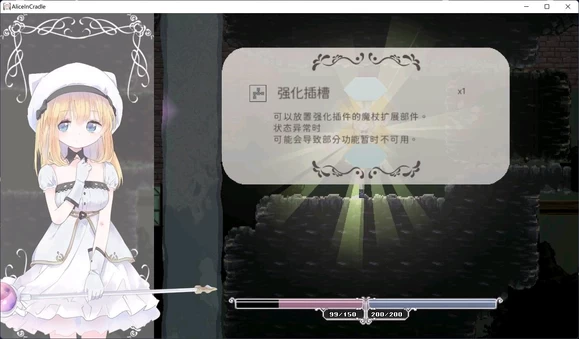
3. Enhancement Slot 1
Location: Jump off the cliff at the far right of your home, inside the cave below.
Solution: Just jump down carefully. Practice makes perfect—no one can do this for you. Everyone falls at first; you'll get the hang of it with more tries.
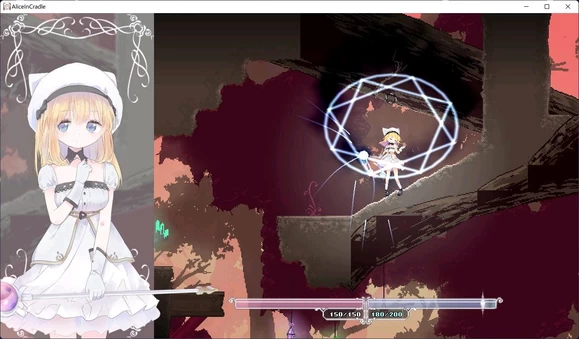
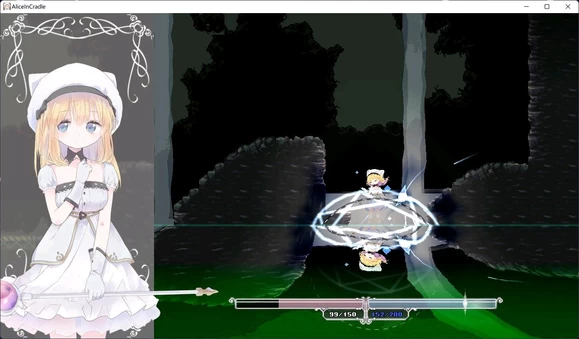
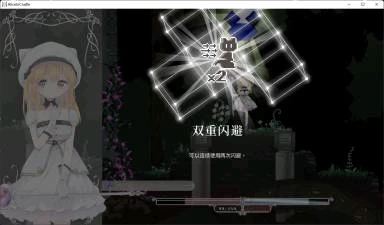
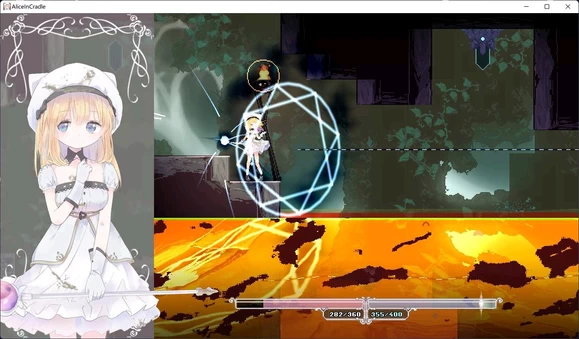
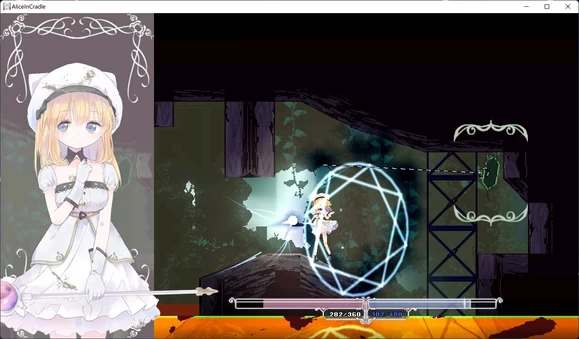
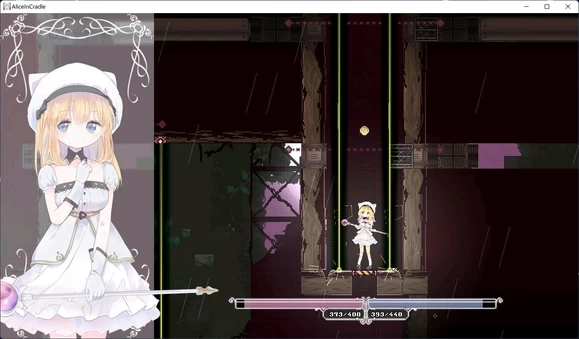
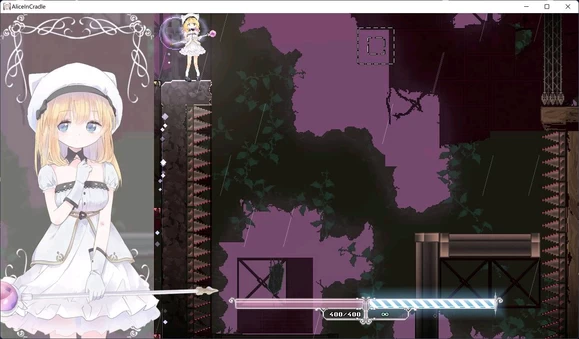
4. Double Dodge
Extremely important—get this unless you're truly hand-disabled! This thing massively boosts your survivability; the game feels completely different once you have it.
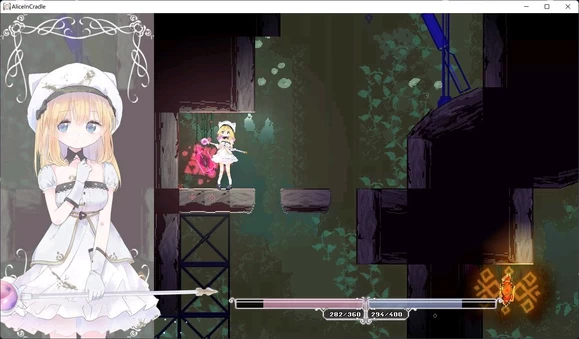
Location: To the right of #3, place a Mana Bomb at the spot shown in the image, blow it up, then jump down.
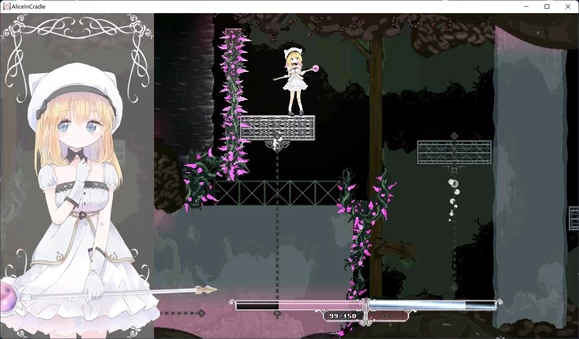
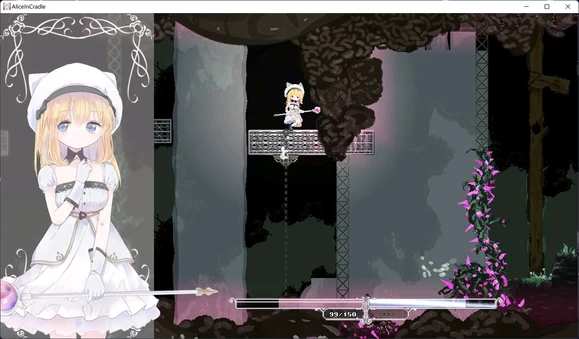
When you reach the water, dash as close to the right side of the moving platform as possible. Once the platforms meet, dodge to the second platform, then to the third, and use the height difference to dash straight to the fourth. After reaching the last platform, wait for it to drop to the lowest point, then dash, big jump, and air-dodge to get across. Keep trying and you'll get Double Dodge.
Hint: This place is indeed a bit hard; there are videos on the forums—just search for "Double Dodge." If you're bad at this, practice more. I fell into the bug wall countless times back then too.
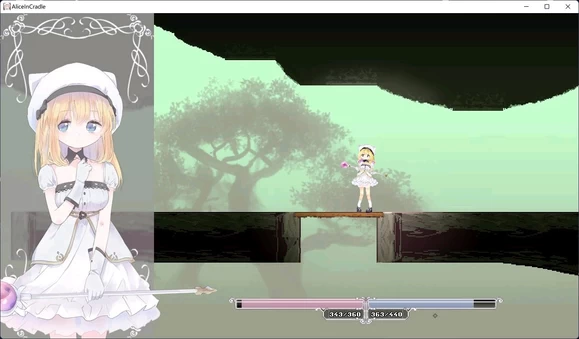
5. Long Staff
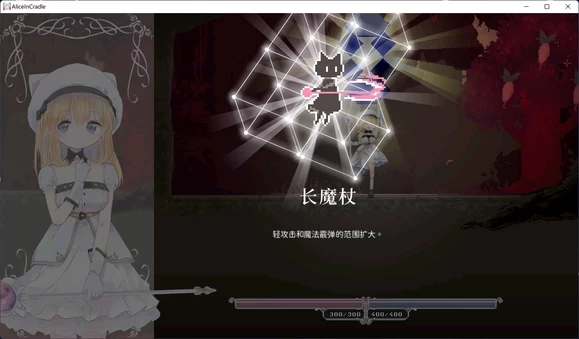
Very useful and easy to get—just beat the Lost One. The Long Staff increases attack range by about half a body length, and it's worth it. Once you get used to the controls, you'll realize how important it is.
The Lost One is in the Slime Contaminant stage; beat it to get the staff.
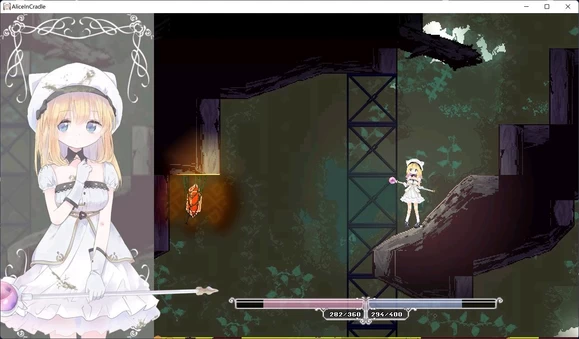
6. Enhancement Slot 2
Just a simple jump to get through. Much easier than the first slot.
Pro Tip: Air dodging interrupts your ascent, so don't hold it too long when jumping.
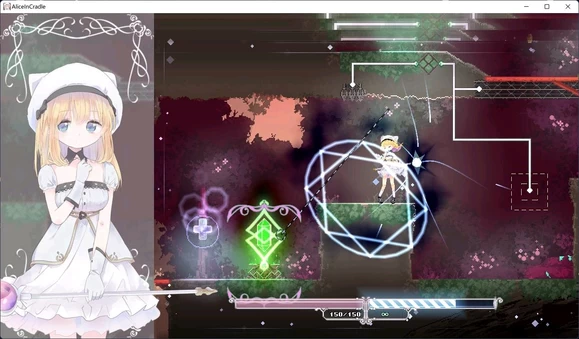
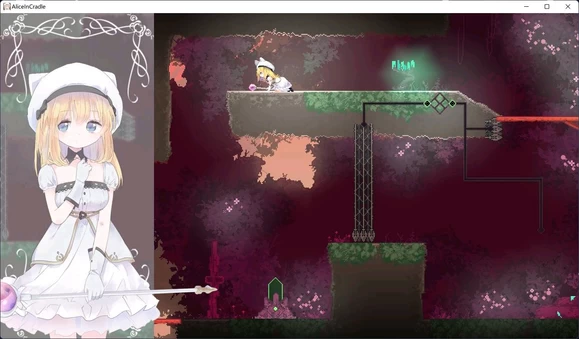
7. Rescue the Classmate
After beating the Earth Dragon and completing the Fireball tutorial, go right for a parkour section. Use dodge-hover to get through.
When you reach the first rising platform, jump directly to the upper-left platform—the rock is hollow. Flip the switch to drain the water, then go up.
Hint: First activate the orange gem outside the room on the right, then the water inside will disappear—use Fireball after that.
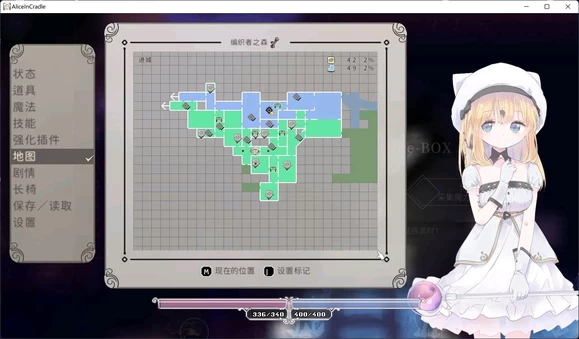
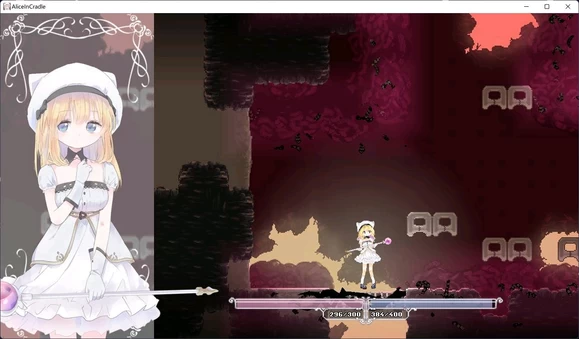
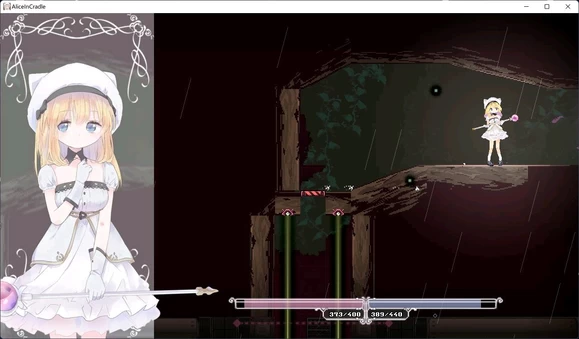
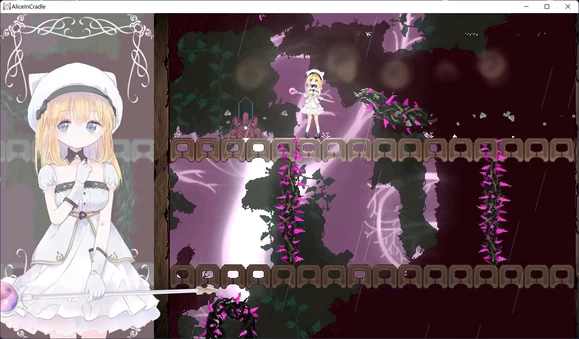
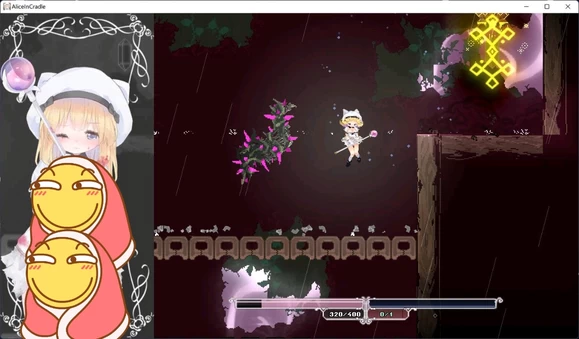
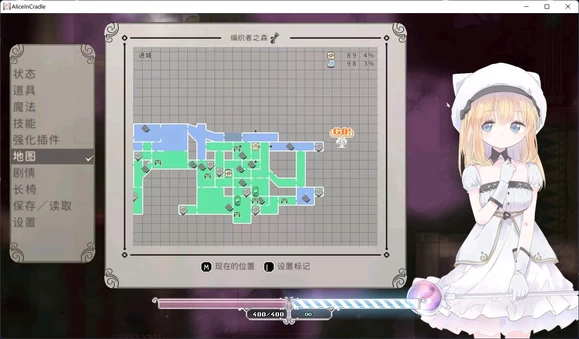
8. Dusk Rain Hidden Room
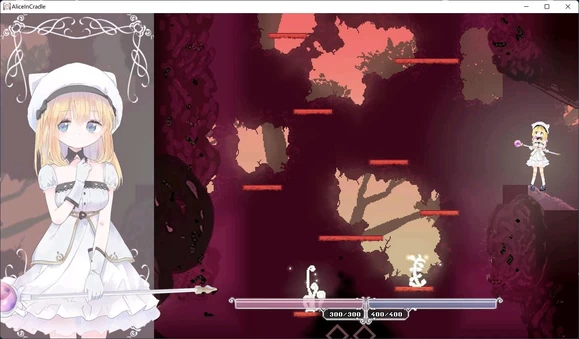
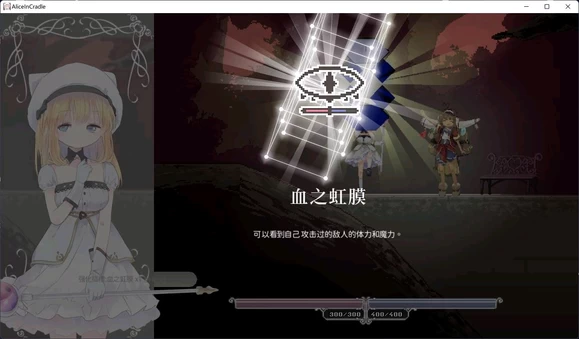
In Dusk Rain, there's a section with non-moving bug walls—jump in to get the Blood Iris.
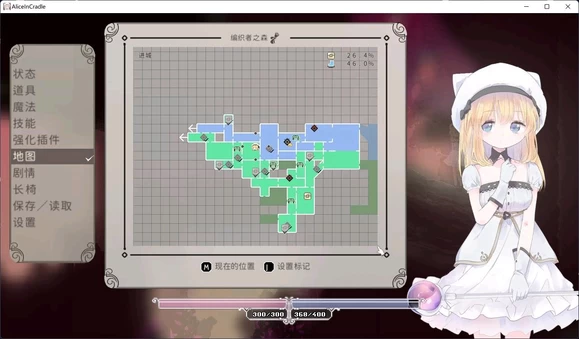
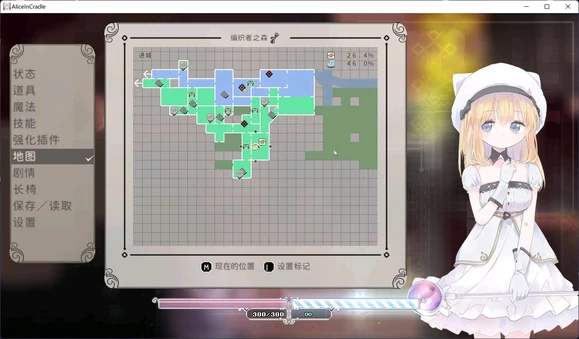
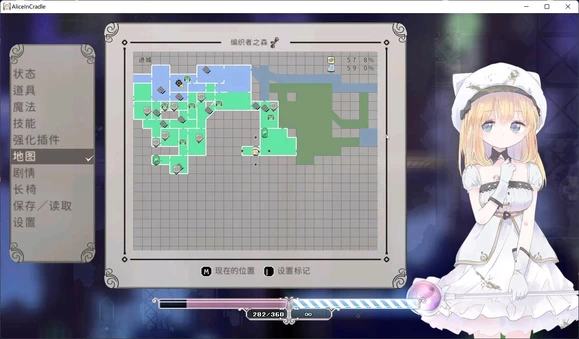
Many don't know you can enter here; check the map yourself for entrances/exits.
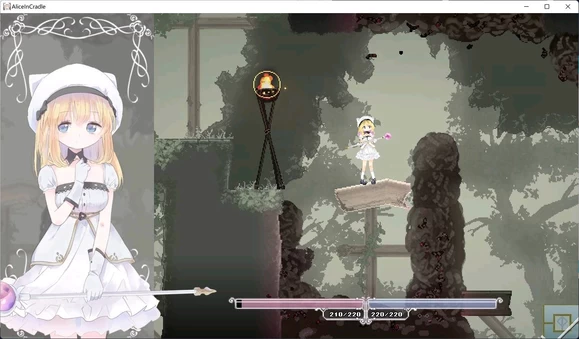
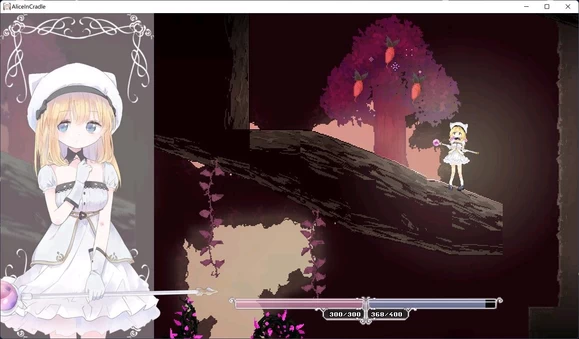
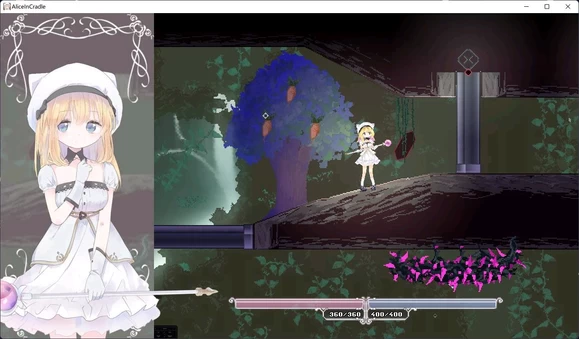
9. Radish Tree
Super simple—I'll just drop the location. Just jump; get good at the big jump and you'll clear it.

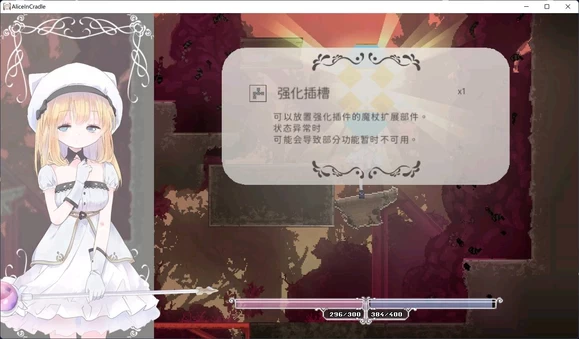
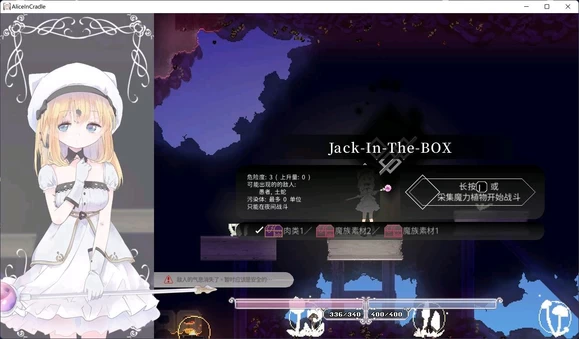
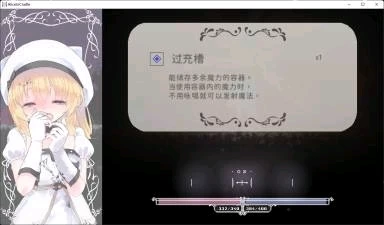
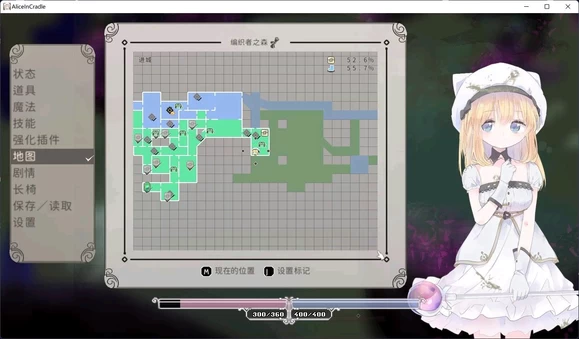
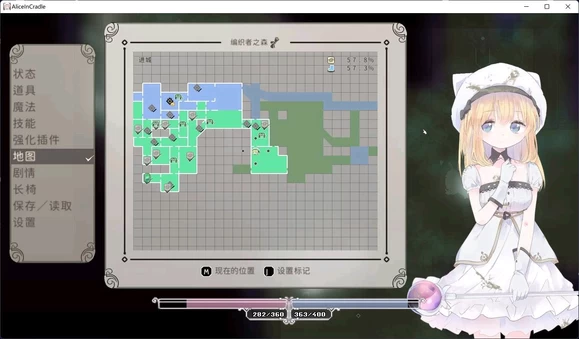
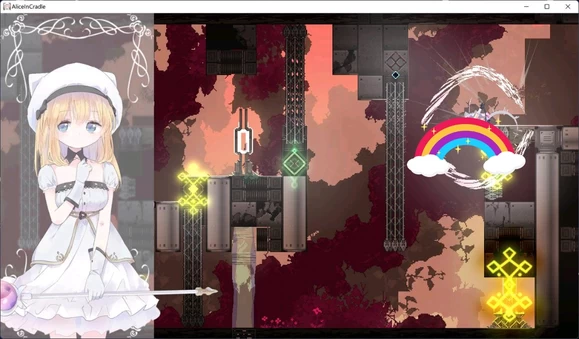
10. Overcharge Slot
The most heavyweight one yet! Newbies always ask how to get down here.
When Danger Level hits 9, go right on the first night to fight Jack in the Box; beating it unlocks the path.
Save after beating it! It's water down there—you'll drown and respawn after getting the Overcharge Slot.
On high difficulty, it's better to skip this. Start on low difficulty instead. Lay more mines and watch out for attacks.
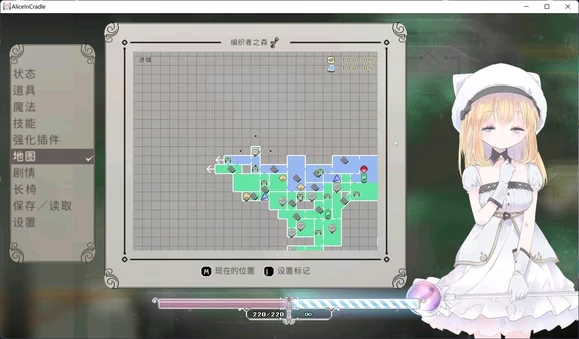
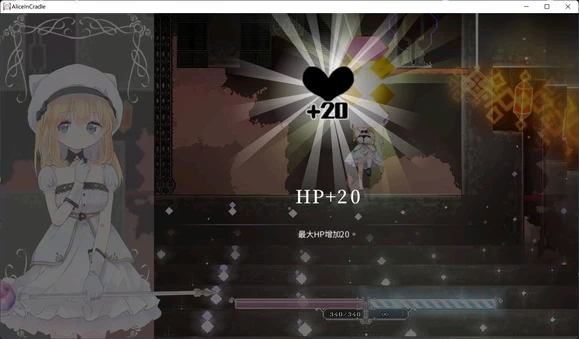
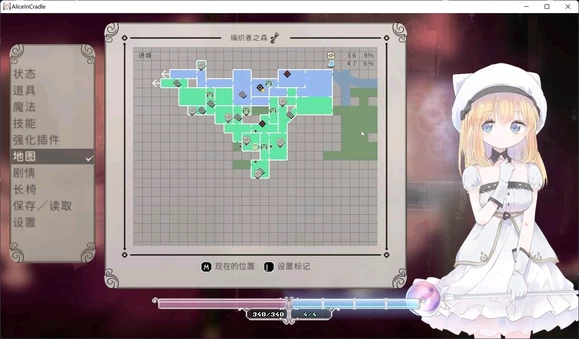
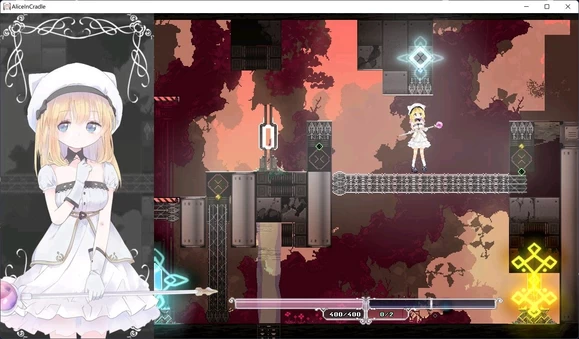
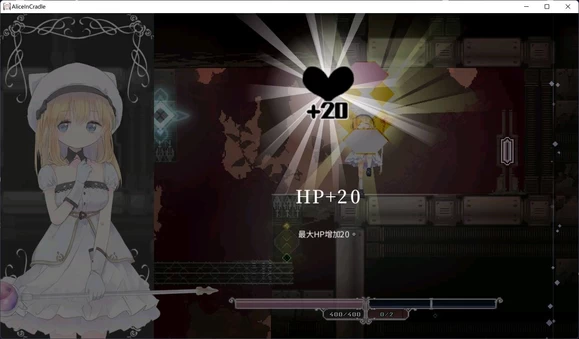
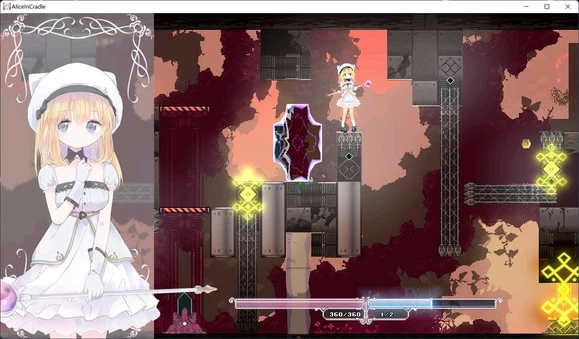
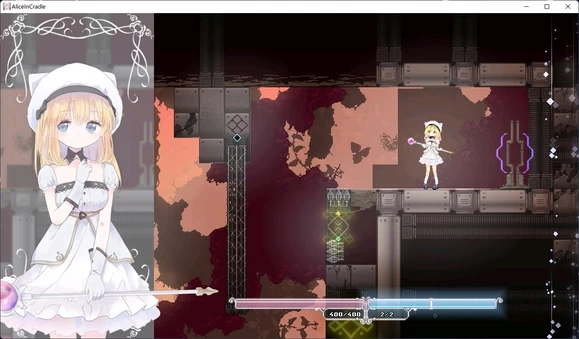
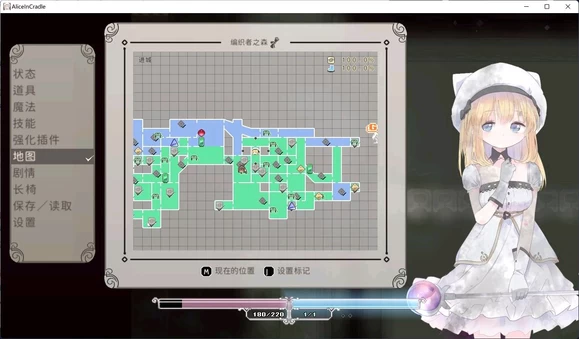
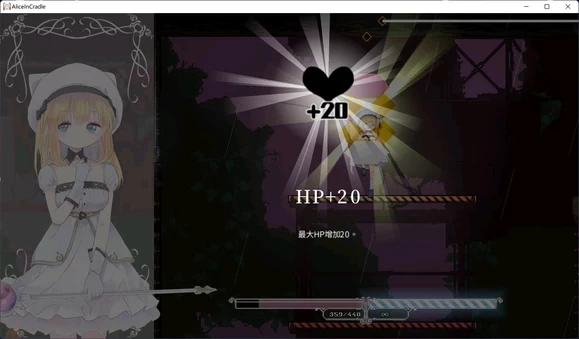
11. 20PH
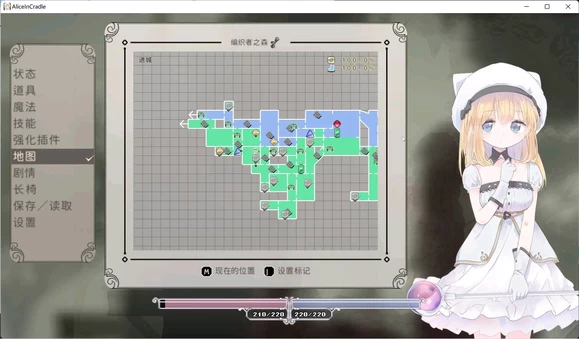
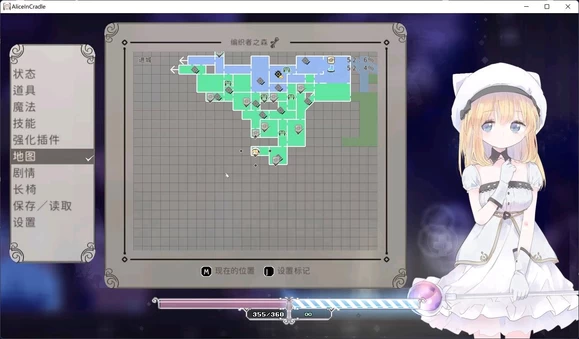
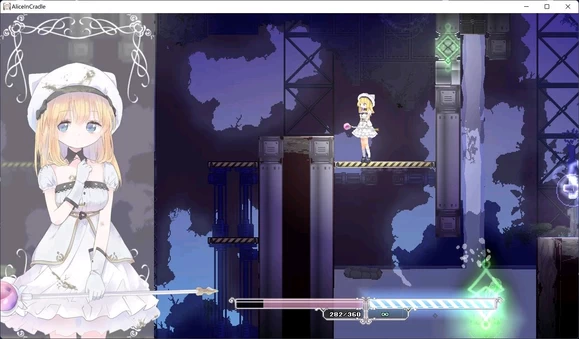
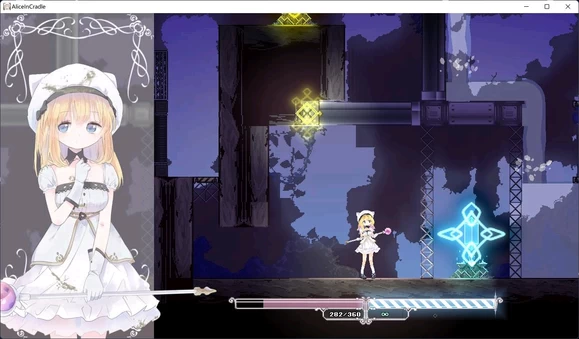
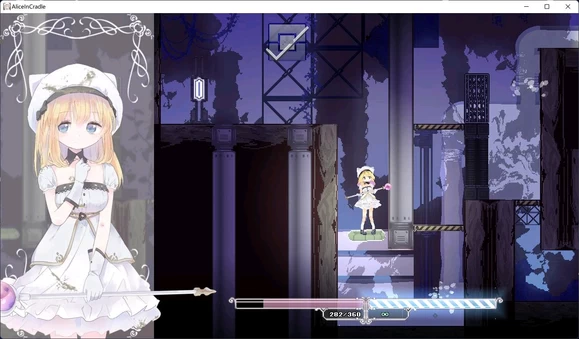
Map below—you should have drained the water by now; if not, refer to the "Rescue the Classmate" section above.
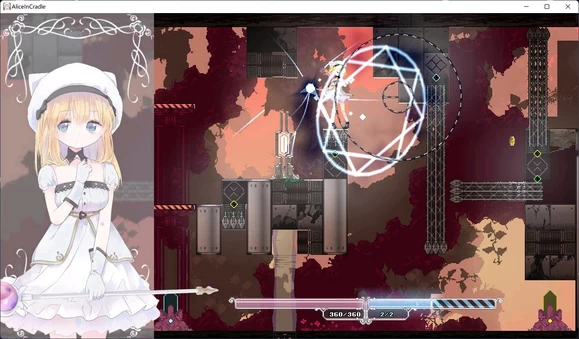
Stand behind the mechanism and use Fireball to hit the switch.

Hint: It's just Magic Arrow to hit the switch. Dodge the two bug walls while ascending, prepare a Magic Arrow while rising, crouch to avoid getting knocked off, fire the arrow to hit the switch while descending, and finally dash-small-jump when the platform is halfway up.
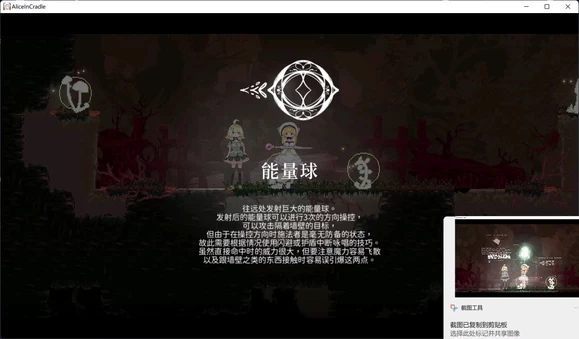
12. Lightning Cyclone Slash
Complete the simple parkour as shown.
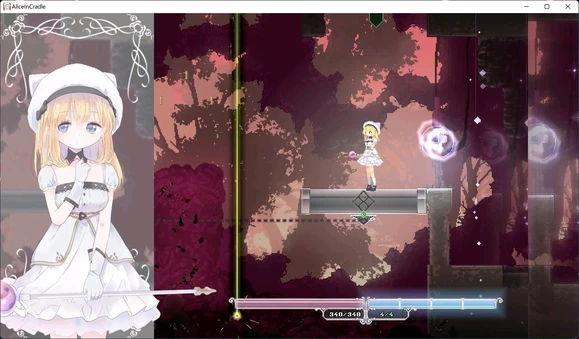
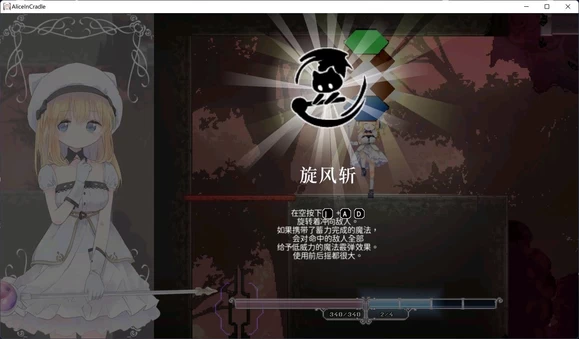
Nothing hard here. Type 1 to revive grandma.
13. Shield Bash
As shown—just try a few times and you'll get it.
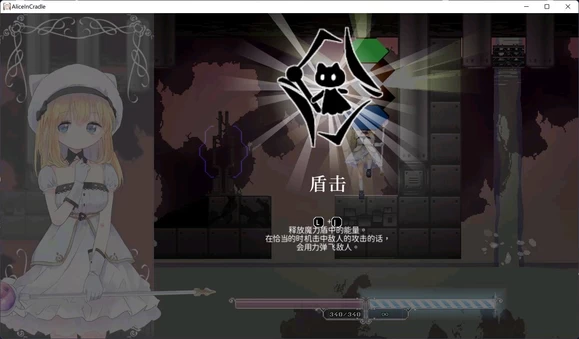
Technique: Just get good at the breathing stamina regen method. When climbing, if your stamina bar isn't enough, stop in a dry spot to recover. For the latter section, dash to the gap, then shield-big-jump to catch your breath; once full, dash over and you're good. You can also slide then climb—tested and works, big points for running.
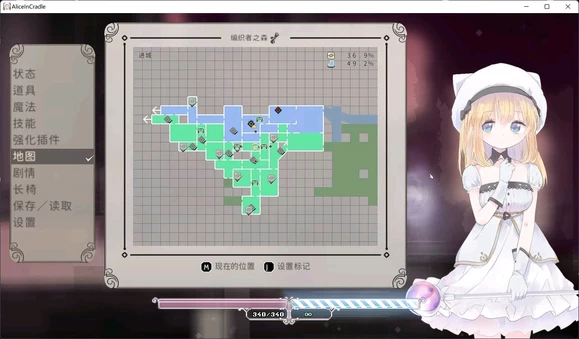
14. 10PH
Location: Left of the Earth Dragon Nest, as shown below. Use Lightning Cyclone Slash wisely to clear easily.

15. Overload Chant
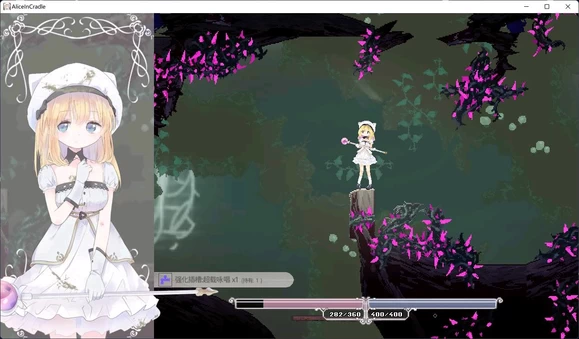
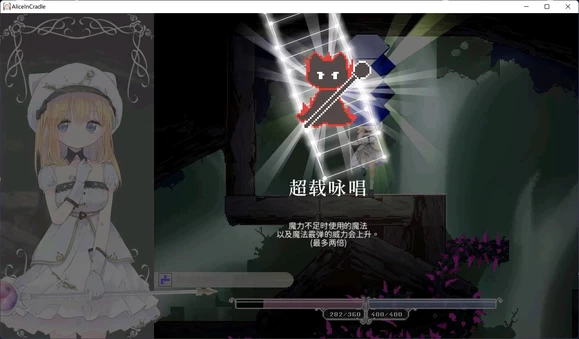
Parkour under the Sourwood Cold Plate chair. This place requires some jumping skill, but it's not too hard.
Solution: Find the Sourwood Cold Plate chair, start parkouring from below, using dodge and jump coordination to grab it.
Hint: The space here is narrow—don't hit your head, use small jumps and dodges to adjust position.
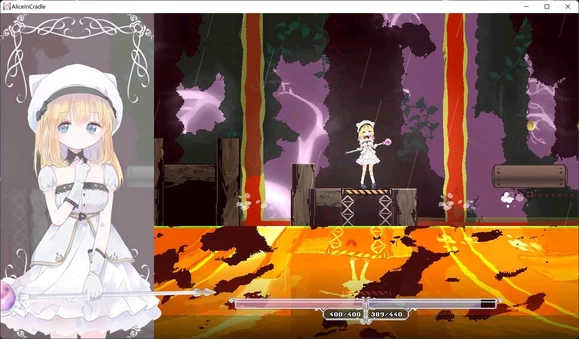
16. Lava Lake
Lava Lake (1): The front part is relatively simple—just need Fireball. Located in the volcano area; clear obstacles with Fireball to proceed.
Lava Lake (2): Stand to the left of the mechanism and time it right—shoot the mechanism with Magic Arrow and immediately jump onto the platform. Once up, run straight to the right and freefall, then use Magic Arrow for the subsequent mechanisms.
Technique: Timing is key—don't hesitate, jump immediately after shooting. For the freefall section, prepare your next Magic Arrow in advance so you can fire the moment you land.
Note: Two images are missing here—will add them next time. Just practice a few times to get the rhythm.
17. Grip Boots
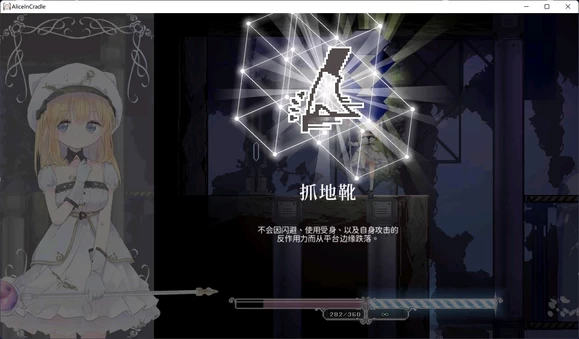
This gear lets you stick to walls longer—essential for many parkour sections.
Solution: First hit the red mechanism, enter the door below. The green mechanism is simple—no explanation needed. Then open the blue and yellow mechanisms, close the blue one, and jump up from the far right.
Hint: Don't mess up the order: Red → Green → Blue/Yellow, then close Blue and jump right. Practice a few times and you'll get it.
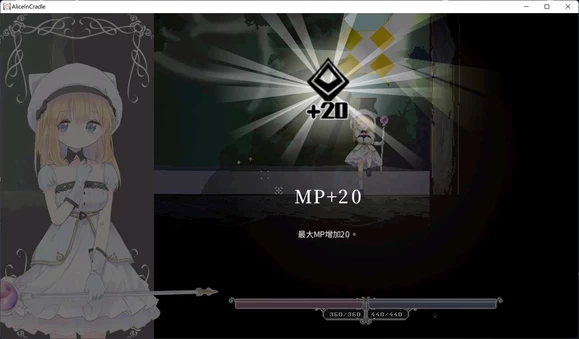
18. Greatsword Mountain
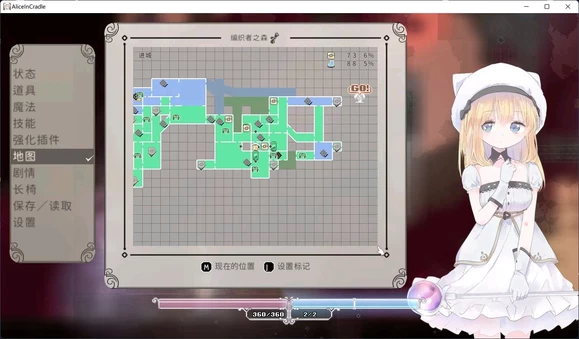
Pure parkour level—just take your time and practice. There are two exits here; you can get 20 MP halfway through, and completing it unlocks a teleport point.
Recommendation: Grab Double Dodge and Grip Boots first—it'll be much easier. For the middle continuous jump section, rhythm matters more than speed.
Completing it unlocks teleportation, so you won't have to run it again—worth it.
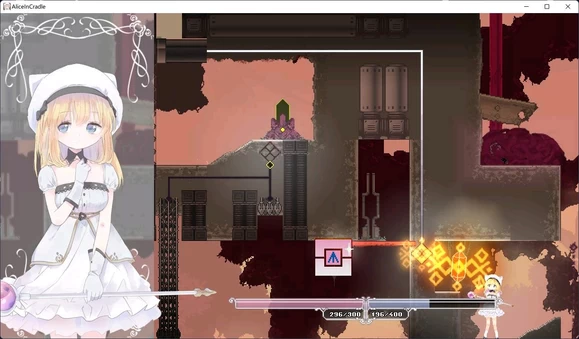
19. Timed Mechanism
Key point! You need to hit four mechanisms at once with Fireball or Cyclone Slash—only two absolutely require magic, the rest can be melee'd.
Core Technique: Positioning is crucial—the angle of your Fireball or Cyclone Slash needs to cover multiple mechanisms. The key is practice; once you get the feel, you'll clear it in one go.
Hint: First observe the mechanism arrangement, find the right angle, then strike. Don't rush your skills—fully charged one-shot clears feel the best.


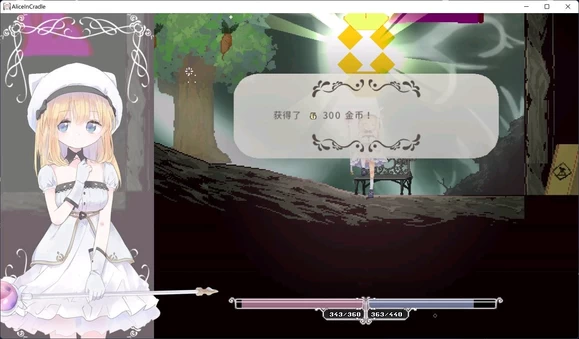
20. 300 Gold
Location: Go right past the Sky Corridor to find it. This money is quite useful early game for buying stuff.
Sky Corridor Hidden Door: In the middle of the corridor, there's a section that looks like a wall but is actually a hidden passage—jump in for extra rewards.
Hint: The ground near the hidden door is slightly different in color—look closely and you'll spot it. Don't rush inside; grab everything.
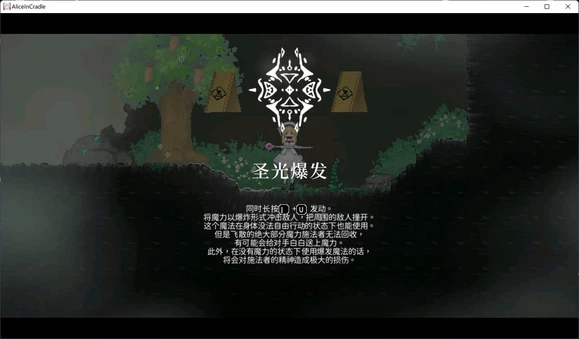
21. Holy Light Burst (CC God)
Location: Right of Flame Dance Kagura—this skill removes crowd control, essential for certain bosses.
Solution: At low Danger Level, use Cyclone Slash to combo the Fox Spirit to death to unlock. The Fox Spirit is fast, but Cyclone Slash has large range—just keep your distance.
Hint: Don't set Danger Level too high—the Fox Spirit has less HP on low difficulty, so just combo it down. With Holy Light Burst, control-type bosses become much easier.
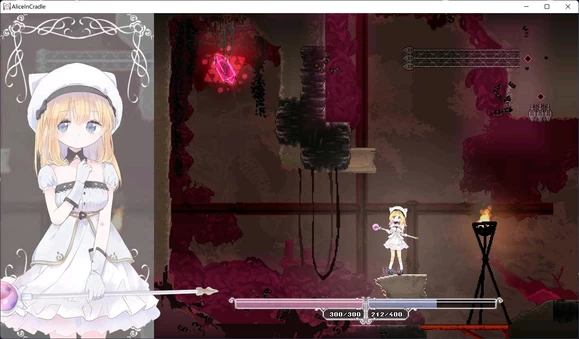
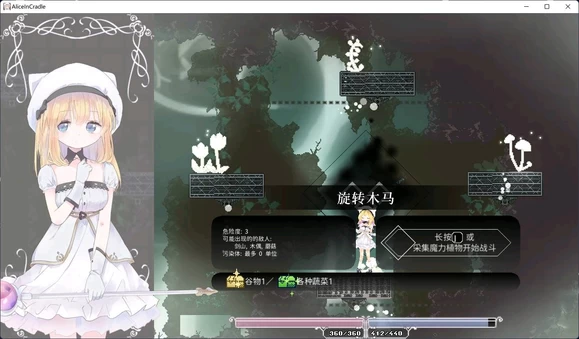
22. Carousel 20PH (1)
Heavyweight again! First you need to beat the Carousel, then there's a puzzle below with three solutions to choose from.
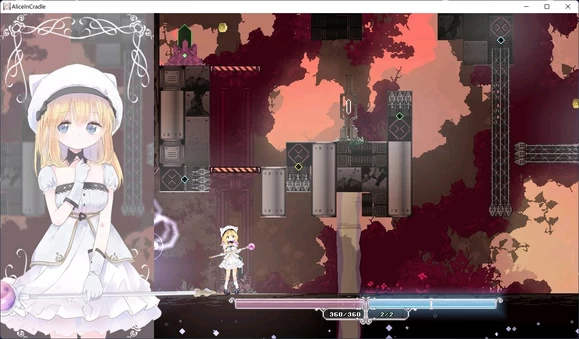
Solution 1 (Recommended): Lay mines as shown, attack with staff (Long Staff recommended), then immediately run left. Once out, success—then use Magic Arrow for the rest.
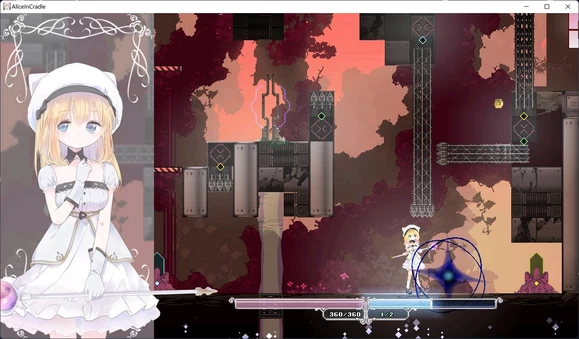
Solution 2 (Not Recommended): Use Fireball to trigger as shown, then same as Solution 1. Fireball has large range but timing is hard to get right—easy to mess up.
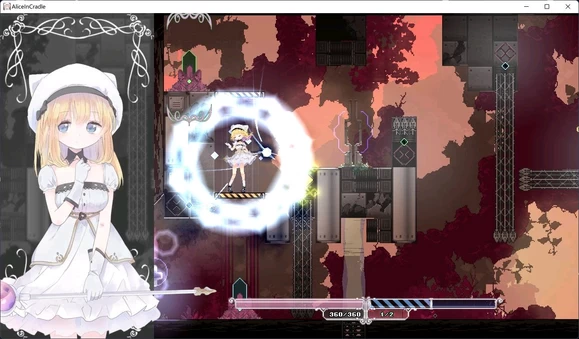
Solution 3 (For Handicapped Players): No magic needed, pure "Getting Over It" style—Cyclone Slash wall-climbing is OP. The safest but slowest—pick this if you want stability.
Hint: All three solutions work—pick what you're comfortable with. Mine method is fastest, wall-climbing is safest, Fireball is middle ground.
23. Laser Stage
First complete the "Watch Your Head" stage to unlock. Block moving lasers with shield, dodge the other two lasers by finding the pattern.
Third Platform Technique: When the first platform approaches, quickly triple-jump in place to get up. This takes practice—rhythm is key.
Hint: When blocking lasers with shield, watch your stamina—don't hold it up forever. For the triple-jump timing, just try a few times—once you feel it, you'll clear it.
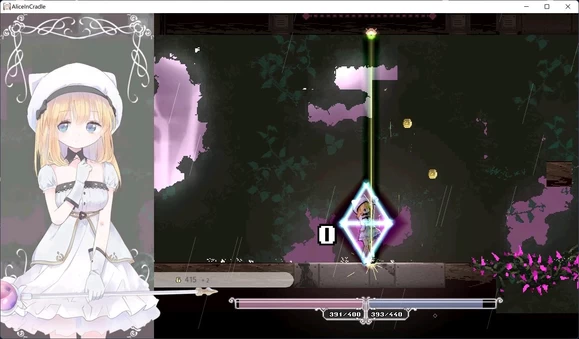
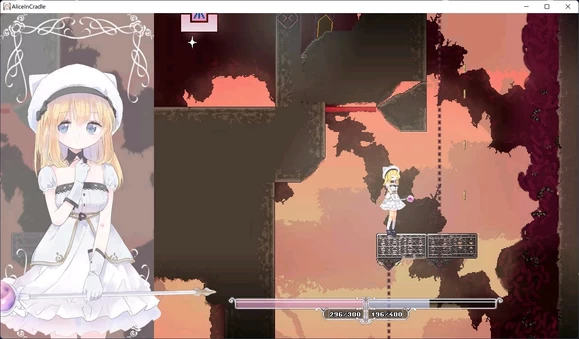
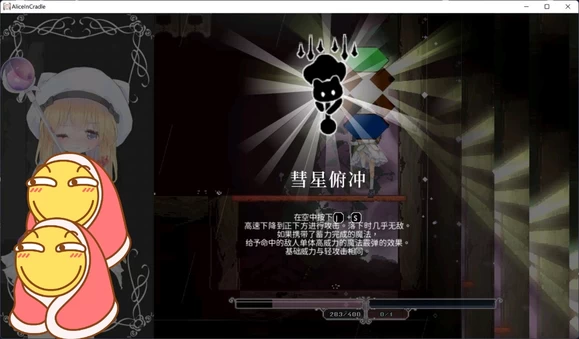
24. Comet Dive (Mount Tai Meteor Drop)
Activate switches in order as shown. Remember to charge a Magic Arrow first to hit the yellow mechanism, then activate the others in sequence.
Hint: Don't mess up the order—Yellow → Red → Blue → Green (check actual in-game). Have your charged Magic Arrow ready, shoot the moment the switch shows.

25. 20PH (3)
Relatively simple parkour—Double Dodge recommended for easier clear. Having a charged Magic Arrow ready is even better, can save your life at critical moments.
Recommendation: Much easier than the Carousel—with Double Dodge it's basically a free clear. Save your Magic Arrow for mechanisms or emergencies.
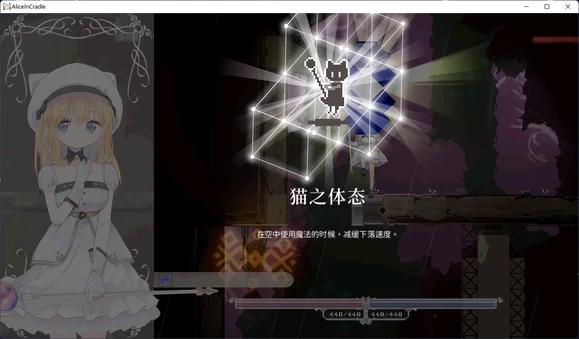
26. Cat Stance
Very simple—pics explain everything. This skill gives you more stable landings, essential for certain narrow platform parkour.
Hint: Practice landing timing after getting it—combined with Double Dodge you can pull off lots of tricks.

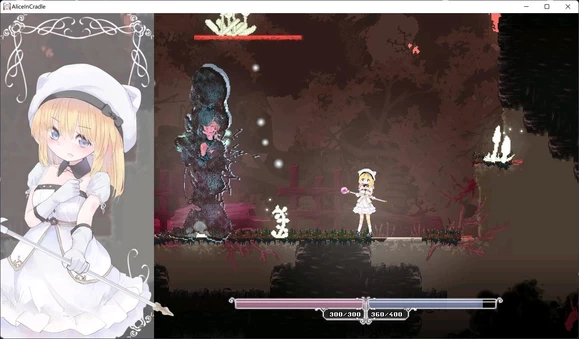
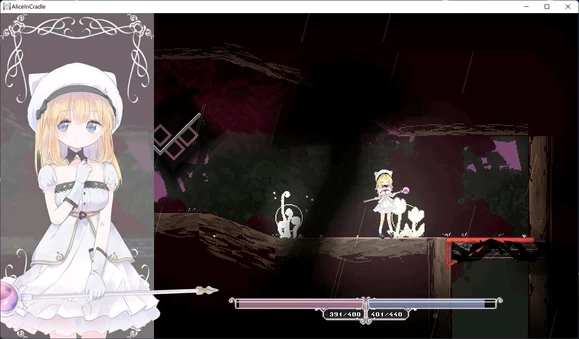
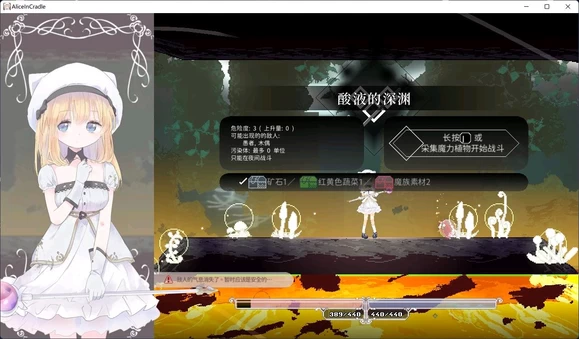
27. Meat Tree
Generally unlocks automatically—just go right at night and clear the Acid Abyss.
Hint: Acid Abyss only opens at night—don't go during the day for nothing. Beat it to unlock Meat Tree for decent rewards.
Bonus: Advanced Techniques
Noel Doesn't Need Bridges: Running big jump plus Double Dodge, Cyclone Slash to cross. Need to know Cyclone Slash wall-climbing—once mastered, many terrains can be bypassed.
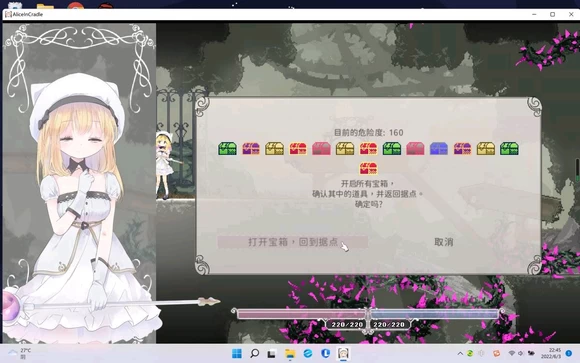
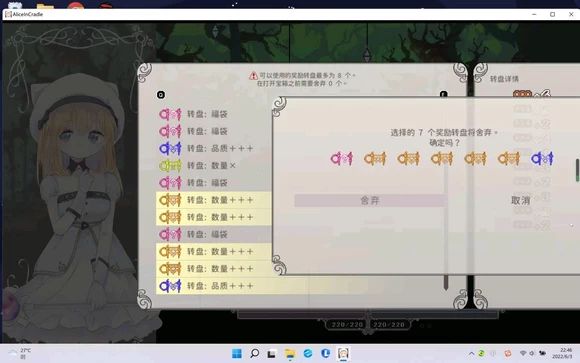
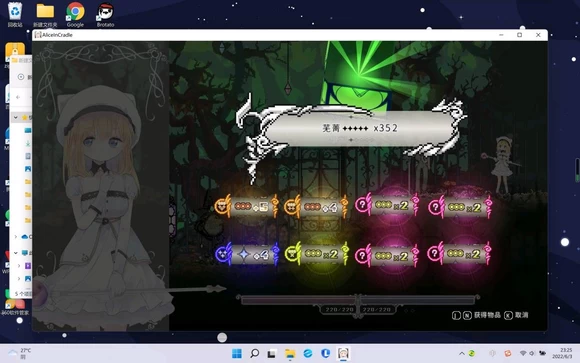
About Grinding Materials on the Wheel: High Danger Level hand-grinding can drop many wheels. Personally recommend: first two slots for quantity (preferably 3-star for +5), one 3-star quality for +4 (location doesn't matter), then all ×2 (gift bags can also ×2). Opening boxes needs at least 320 5-star materials.
Esoteric Technique: Best to eat a Corn Salad before opening to reduce spin speed—mystically improves drop rates. Anyway, I feel more stable after eating it; placebo is still a placebo.
Guide Complete
All puzzle points are listed. If you still don't understand, you can ask on the forums, but I recommend finishing this guide first before asking. Most questions are answered here—you just didn't read carefully.

Publish Comments