

Every level in Paladin Lika Story hides collectibles that'll drive you crazy—miss one and you have to replay the entire level. The pain is real. This guide nails down the exact locations of every crystal and sword technique. Follow it and you'll collect everything in one go, guaranteed—no one should have to go back for missed items.

Quick Navigation
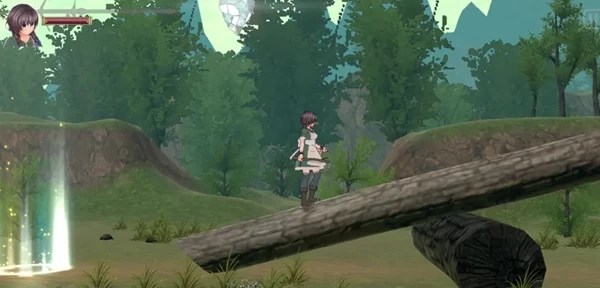
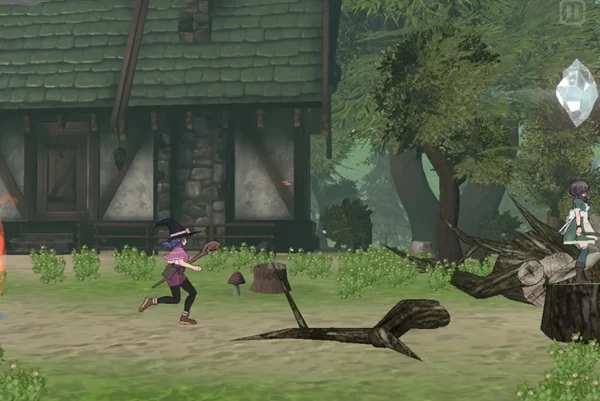
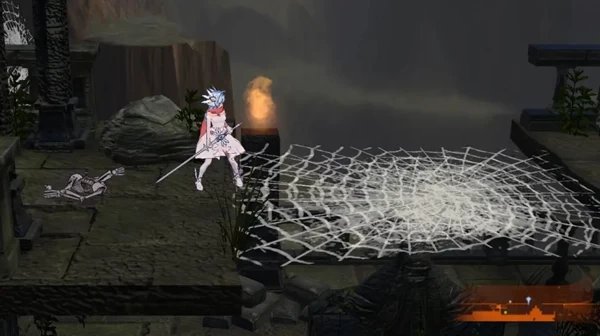
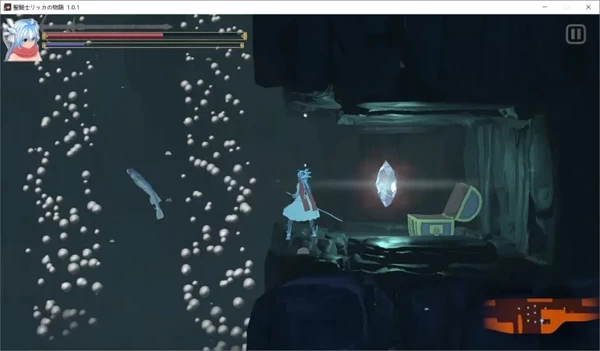
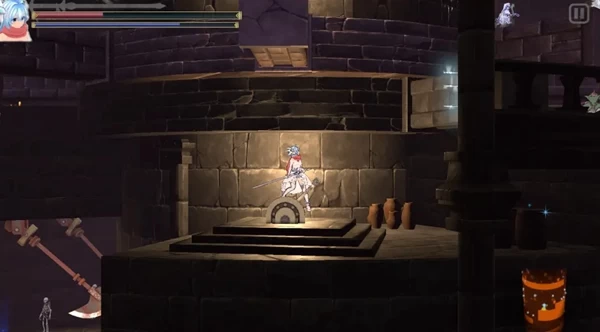
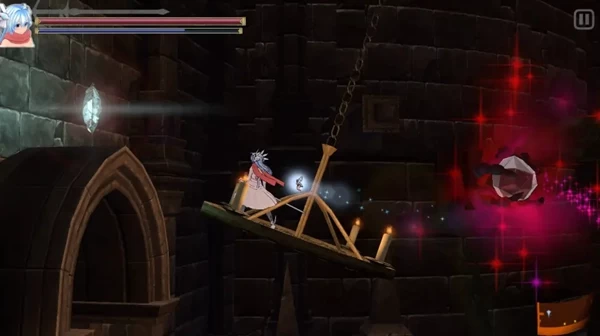
Level 1
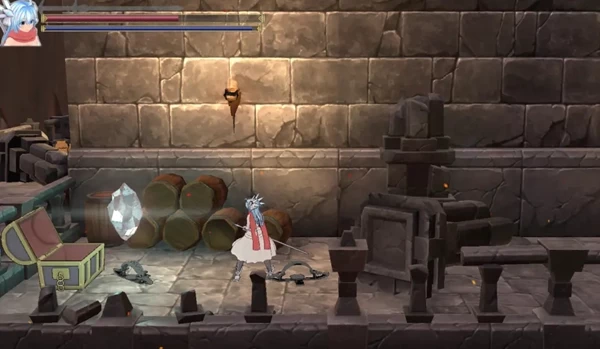
Walk forward a few steps and you'll see the seesaw. The crystal is blatantly placed right on top—no searching needed. This is a newbie freebie, handed to you on a silver platter.
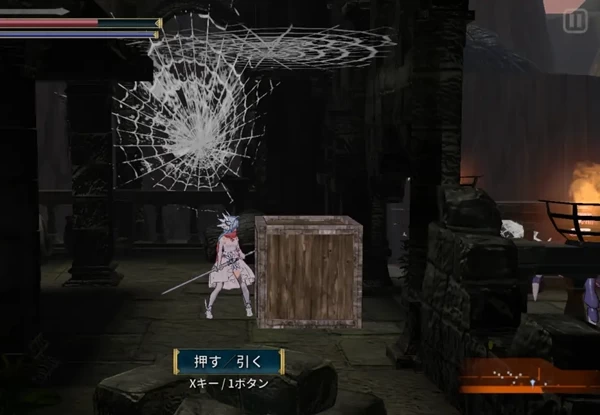
Level 2
At the start, you'll encounter four boxes. Smash every single one and the crystal drops out. Simple and brutal—no fancy hiding spots here.

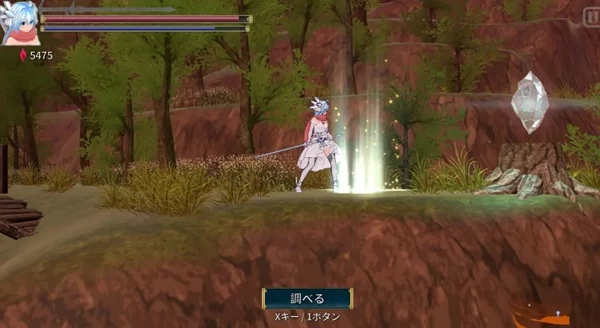
Level 3
When you reach this spot, don't rush forward. Turn around and go up. The crystal is at the end of the path. Be careful on the way down—this game loves its troll-level terrain.

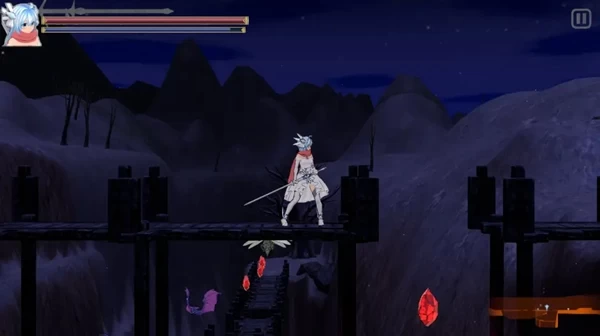
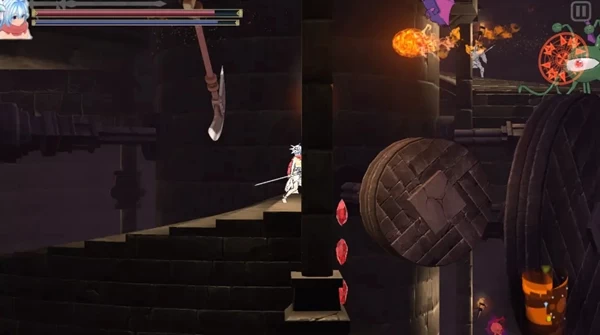
Level 4
Run all the way to the broken bridge. When you see the red stone, jump down. The crystal is hidden below. This game loves these semi-hidden paths.
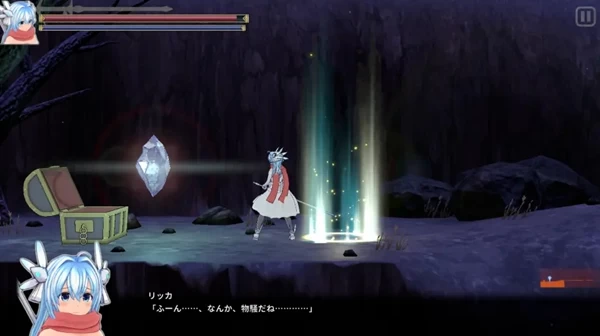
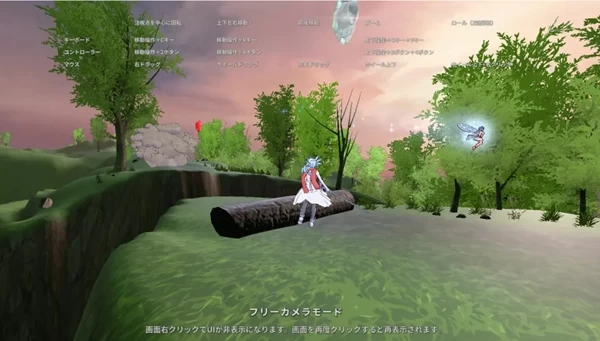
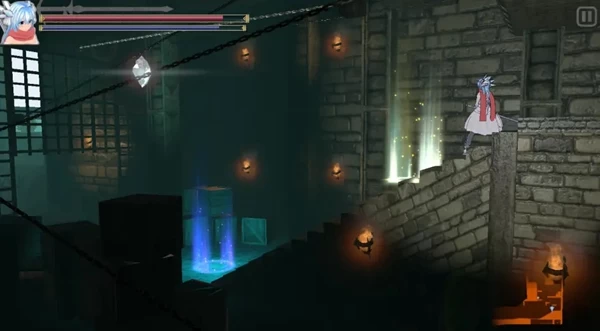
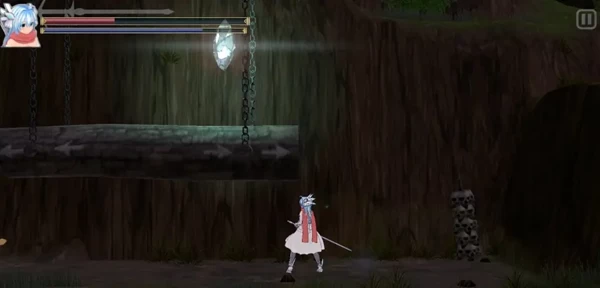
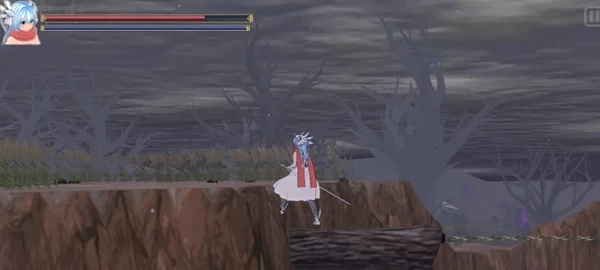
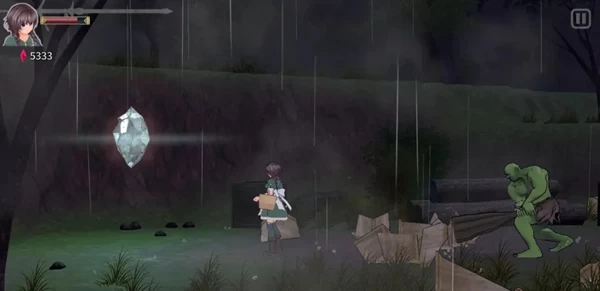
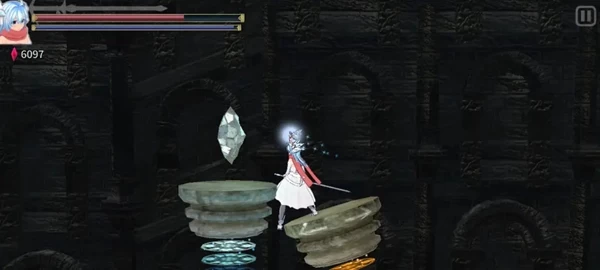
Level 5
You can only see the crystal after the chase sequence starts. If you have double jump, grab it directly. If not, jump onto the tree trunk and slowly make your way over. The chase itself isn't hard—just watch out for the pits on the ground.
After the chase, remember to go back and grab the monster core too—it's near the crystal. Don't miss it.
Level 6
The crystal is in this location—go back and you'll find a box containing it. Watch your landing spot on the way down. This level's pit placement is especially trollish.
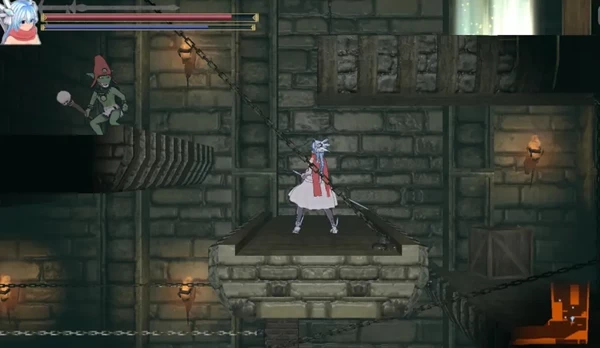
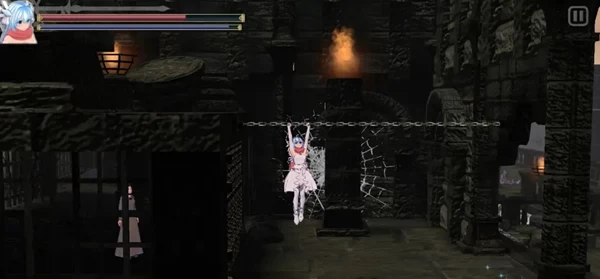
Level 7
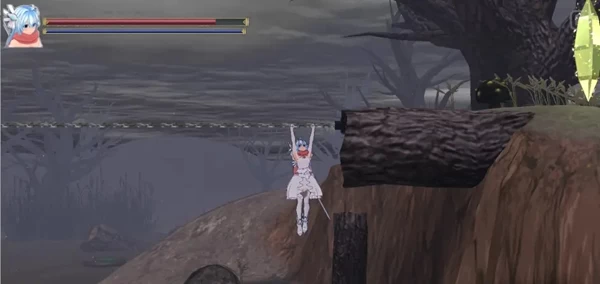
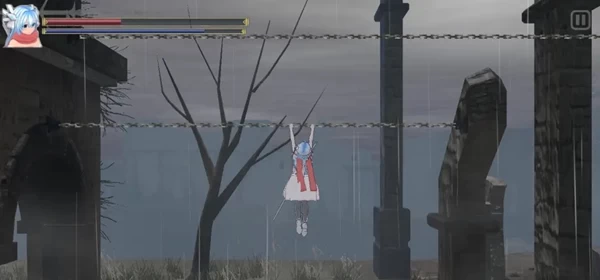
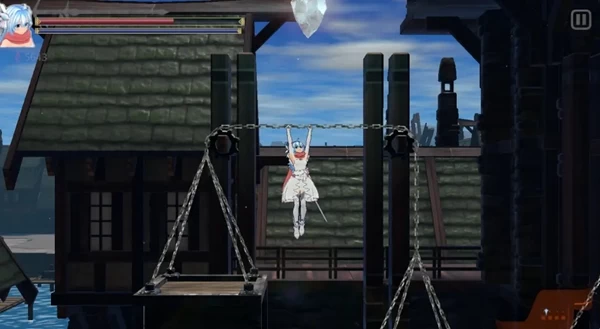
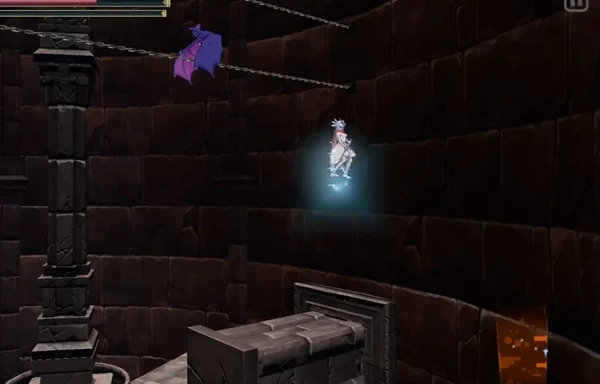
You can see the crystal right from the start. Climb across the chains to reach it. There's another chain below—don't miss that one either.
The bottom chain also hides something—search carefully.
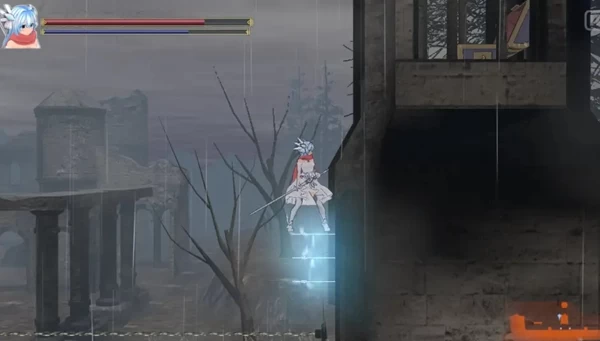
Level 8
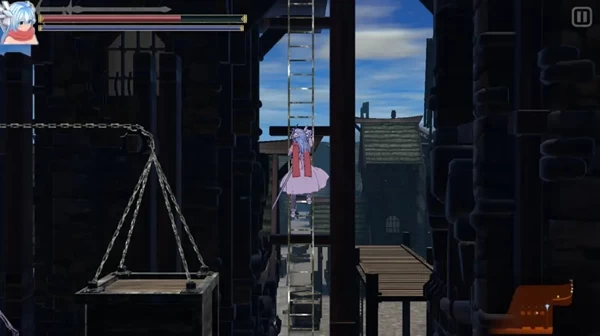
The sword technique is in the area above the ladder. There's a pile of boxes blocking the way— smash them all and you'll see it. The crystal is on the way back, easy to grab.
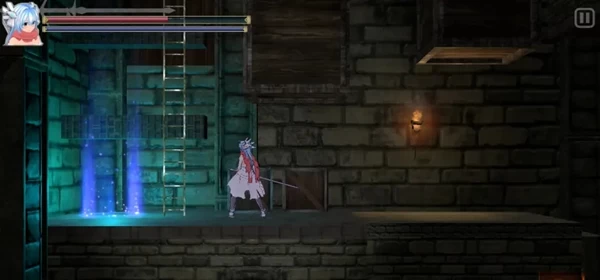
The sword technique location is already collected so it doesn't show, but it's behind the boxes.
The crystal is on the return path—a free collectible.
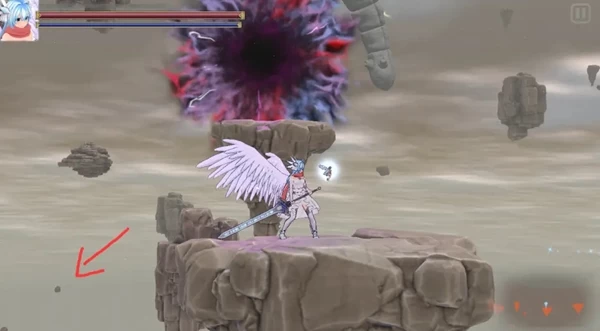
Level 9
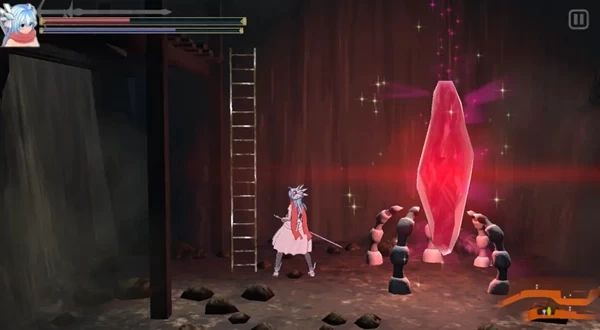
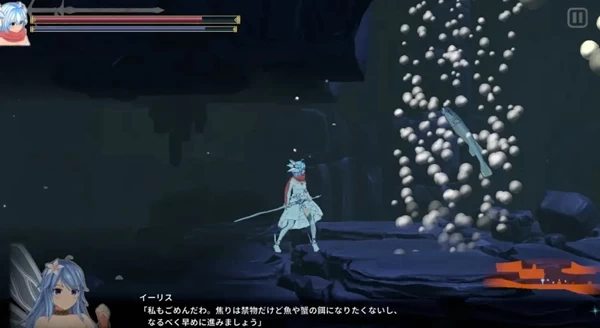
This level introduces stinky mud monsters—hold C and use the electric skill to instantly kill them. The collection route splits into two paths:
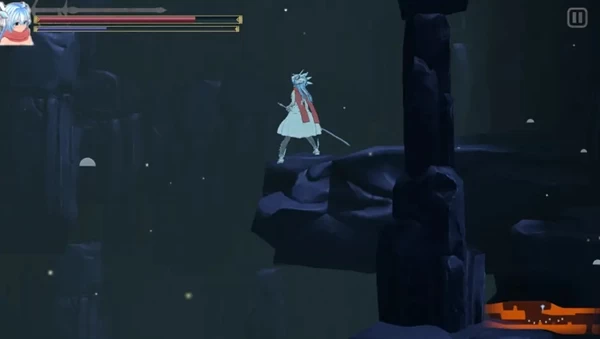
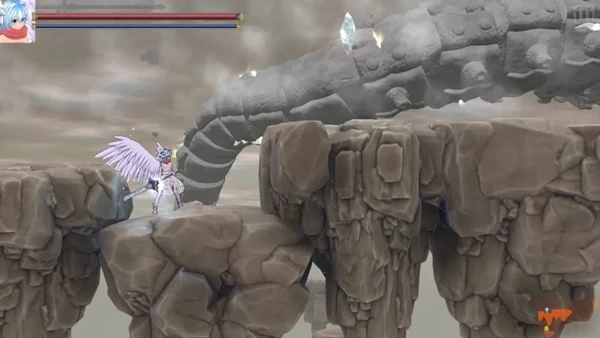
1. Walk all the way to the chain location. After grabbing the mid-point crystal, go left. You'll encounter two snow spirits and a tree blocking the way—clear them to find the crystal.
2. Return to the chain and go forward. There's an upward lily pad for progression. Then you'll encounter a mid-point crystal and moving lily pads. Crabs are on the path, and the sword technique is at the end.
The sword technique is behind the crab swarm—don't miss it.
Level 10
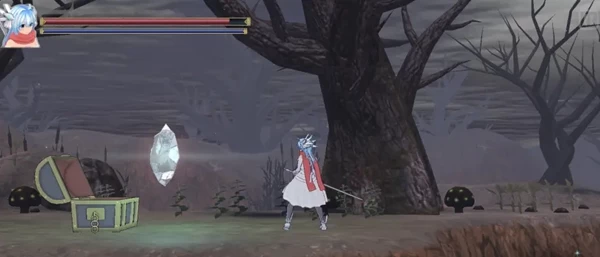
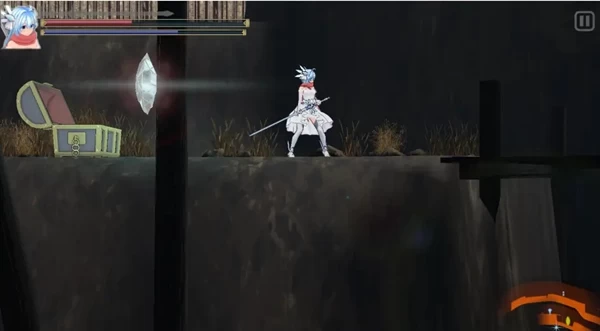
After seeing the first chain, build an arrow ladder to the upper right. The crystal is in the treasure chest.

The crystal in the chest is already collected so it doesn't show.
The sword technique is on the lower path at the fork. Walk to the two chains and jump up. You need to build an arrow ladder in the room to reach it.
At the fork, take the lower path—the upper path leads to an Eye Demon.
Jump up at the two chains—the sword is in the room.

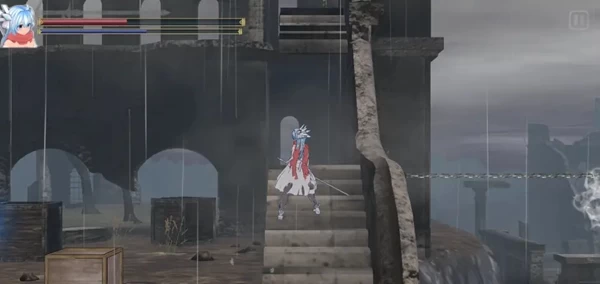
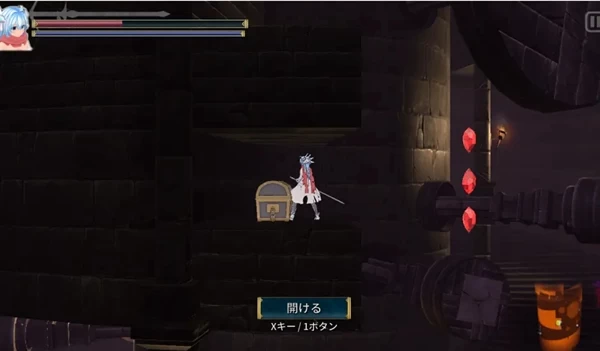
Level 11
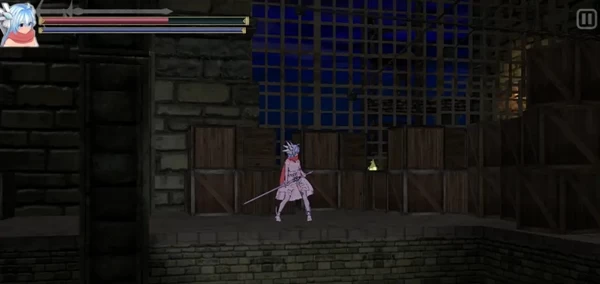
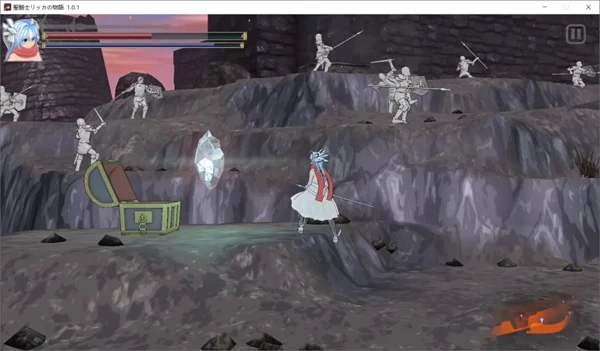
Run all the way to the end of the level. Don't touch that crystal yet. The real collectible crystal for this level is hidden in the box behind it—don't fall for the decoy.
The crystal is in the box. Remember to open the box before grabbing the end-level crystal.
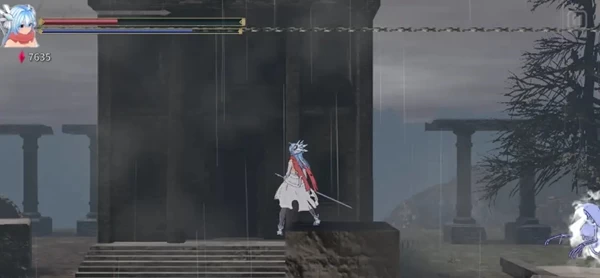
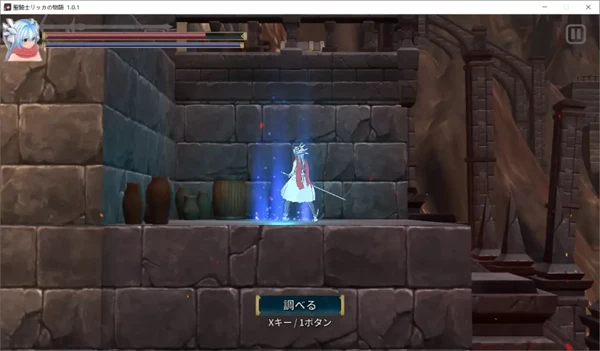
Level 12
You only get ONE chance at this level's crystal—miss it and you'll have to restart. Grab the mid-point crystal at the shown location to increase your margin for error.
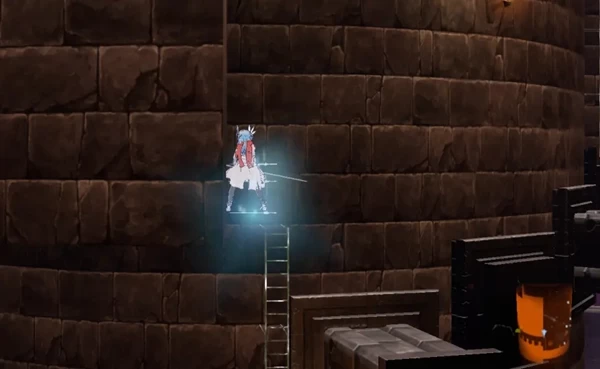
The mid-point crystal is on the ladder. Grab it first for insurance.
After encountering the electric bug, you'll see a minecart. You MUST jump onto it during its leap—fail and you fall into a pit and restart. You need to jump onto the upper platform.
The sword technique is much further ahead, requiring several water wheel jumps. Look at the mini-map to find the jump point, then build an arrow ladder upward to find it.
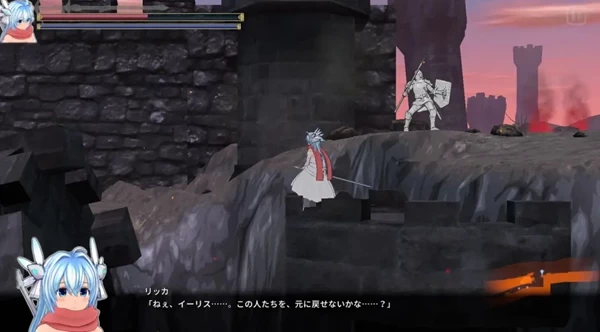
Side note: This level's boss is basically a first-encounter kill. If you can't beat it, the developer allows you to skip it. The story goes: after defeating the sister demon lord, the sister saves the younger sister, and the protagonist realizes a paladin can't save everyone, so she quits, leading to the next level.
Level 13
Remember for this level: use C to throw stones at bats, wait for flying insects to dive, then crouch and circle right to bait them into flying again, or they'll chase you to death. For dogs, crouch and time your attacks.
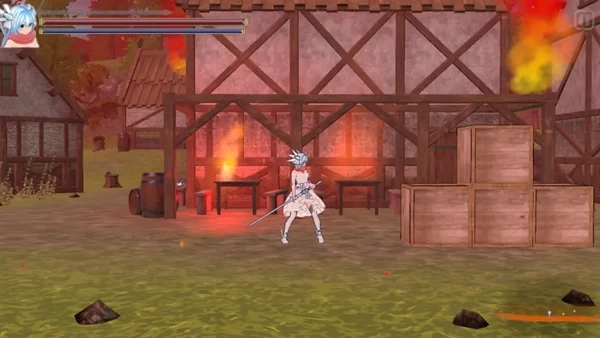
The crystal is hidden behind four waves of boxes. I recommend buying some healing potions from the shop—this level is torture.
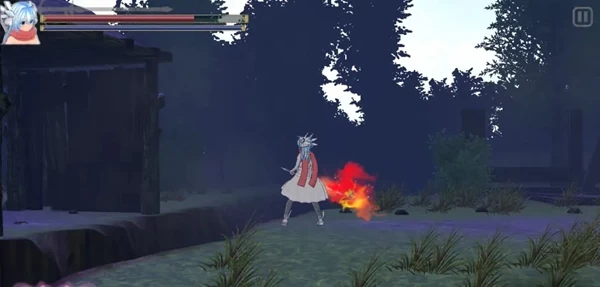
Level 14
Run straight to the far right at the start. Beat that tree until the crystal pops out. Simple and brutal collection method.

Level 15
Walk until you can see yellow crystals in the background. Go down to find a moving lily pad and two mud monsters. Follow the lily pad to get the sword technique.
The crystal is on a stone further back—you can only get it by following the stone. This part gets hectic, so try a few times. There are jump points below you for trial and error.
Level 16
I recommend not playing this level at night—the jump platforms will make your blood pressure spike. The process has three steps:
1. When you encounter spider webs, don't go up. The mission is to save soldiers first, then villagers. Keep moving forward.
2. See the chain and go up. There's a treasure chest ahead containing an elemental sword, but to avoid trouble, just keep going up. Later, slash through the spider web at the bottom, jump to the right across platforms, and the sword technique is at the end.

Already collected so it doesn't show, but it's at the platforming endpoint.

3. After rescuing the soldiers, backtrack to the first spider web. After pulling the switch, don't rush down—go left for the crystal.
Level 17
This level has no real difficulty—just keep moving forward. After seeing the scales and boxes, go left. The crystal is at the top left.
Level 18
The sword technique requires rising bubbles to reach the right platform. You can see the location on the mini-map. Going left leads to a mid-point crystal.
Right at this location.
The crystal is at the three consecutive upward air currents further back, in a box at the bottom left pit. Check the mini-map to find it—not too hard.
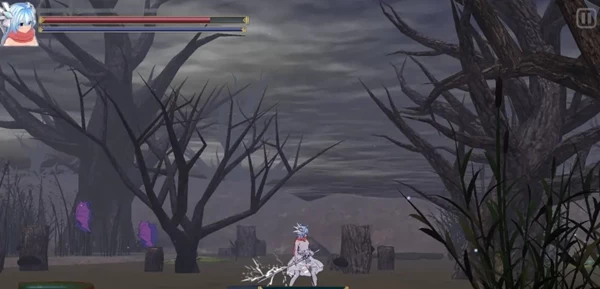
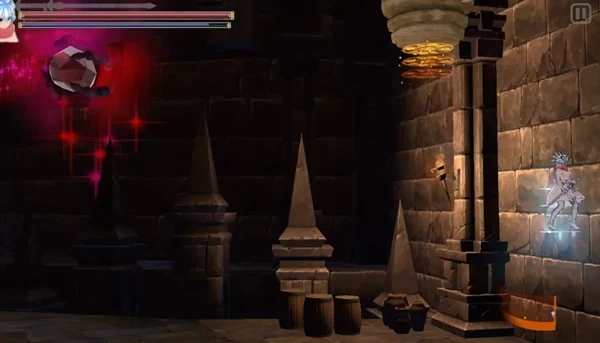
Level 19
After encountering the stone soldier, walk a bit further. At this location, go down and left. The crystal is right there—watch out for traps.
Level 20
Enemy fire is heavy in this level and there are many jump platforms. I recommend steady progression—don't get cocky. Walk to the mana regeneration point, build an arrow ladder up, and you'll encounter a Big Goblin and pushable boxes. There's a teleportation circle under the boxes—warp over and go left. The crystal is in the box.
Watch out for bear traps on the ground—they'll one-shot you.
Level 21
Endurance level with all kinds of platforming torture. The sword technique location is absolutely brutal:
1. In the first scene before meeting the fairy, there are teleportation circles on both sides. The left one teleports up/down, the right one teleports to the background to get the sword. Don't mess up (argh).

After a few jump platforms, you'll see the sword technique.
The crystal is only obtainable at the level's end. Here are some cheese spots:
2. Left of the mechanism, build an arrow ladder against the wall to reach a teleportation circle—much easier than hard jumping. The developer even gives you mana potions to cheese it.
3. Building a sword ladder is faster. There's no real cheese here.
4. Double jump from the switch can get you up directly—good for speedrunners.
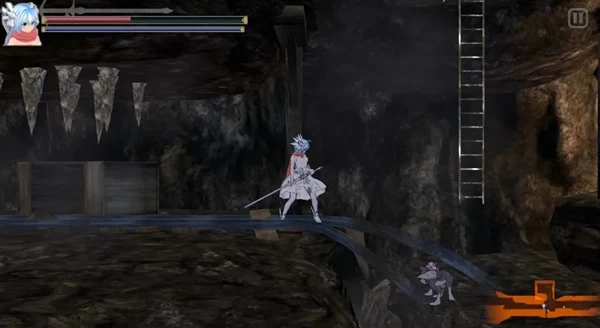
5. Later when you encounter stone golems, check the mini-map and follow the red stone down. The crystal is in the box. You need to mid-air jump again to control direction, and a bat is messing with you. Takes several tries.
This crystal is genuinely difficult—requires practice.
Level 22
You need to go to the far right and build an arrow ladder up, then jump across platforms all the way to the far left. I recommend bringing lots of healing and mana potions—this is a mini-boss rush level with heavy resource drain.
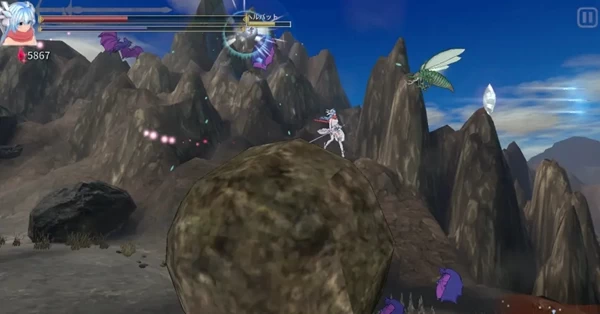
Level 23
Follow the red arrow and fly to the lower left—that's lower left, not upper left. Upper left only has a box. After arriving, you'll see small monsters and a rightward air current. There's a portal ahead.
Go inside to see the crystal. Quickly jump twice to the left and grab it before getting blown away. Not too hard—succeed after one or two tries.

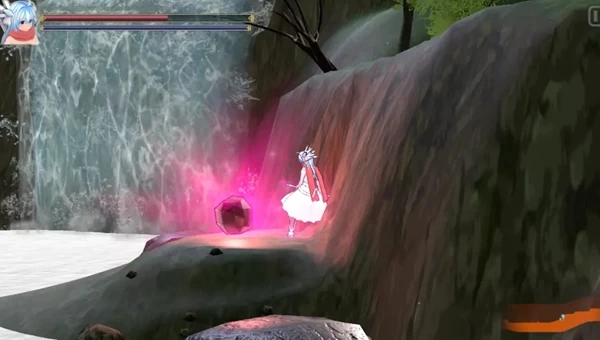
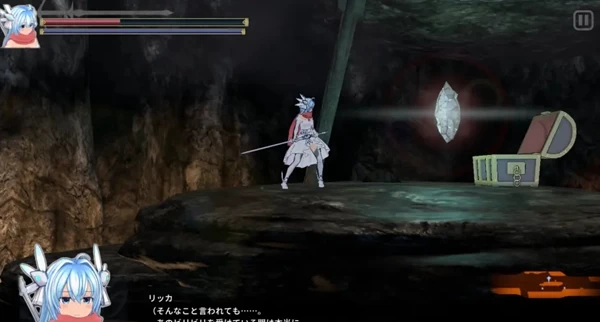
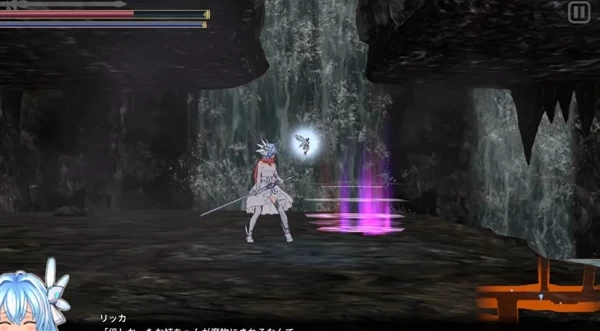
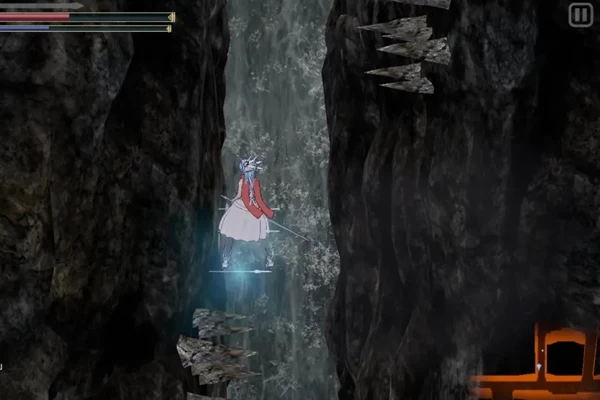
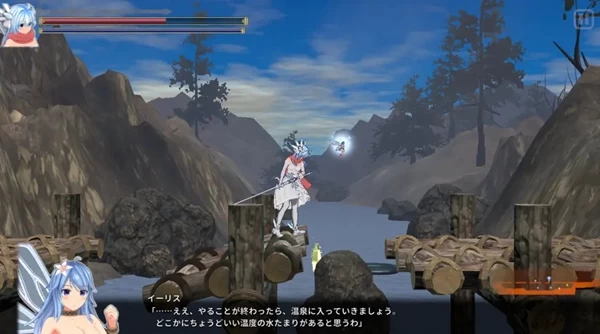
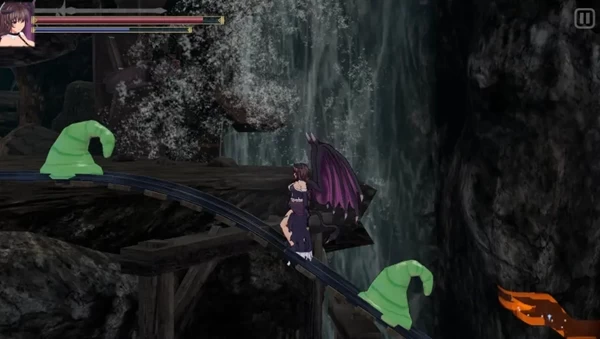
Sister Level
At the start, fly up at the waterfall. There's a small path with thunder bugs inside—go forward to see the collectible.


Publish Comments