

This game is really not as hard as you think. The monsters are as weak as wooden stakes; they see you but act like they don't. Just run casually. I was also terrified by the creepy visuals at first, but after playing, I found it's all bark and no bite. This guide will break down every single choke point for you - toolbox passwords, ID card locations, where to find fuses, all marked clearly. Follow it through, and I guarantee you won't need any backtracking, straight to the rooftop.

Table of Contents
Monster Mechanics & Basic Controls
First, let me put new players at ease - the monsters in this game are really dumb. They can see you, but their reaction is delayed. Run a couple steps and you'll shake them off. The AI is set to traditional turret-style - no flanking, no prediction, pure atmosphere. So don't panic when playing. If you hear a sound, run in the opposite direction - they absolutely won't catch you. For controls, remember two things: first, hold SHIFT to sprint non-stop; second, cornering to lose monsters is 100% safe. That's it. Don't be fooled by the visuals.
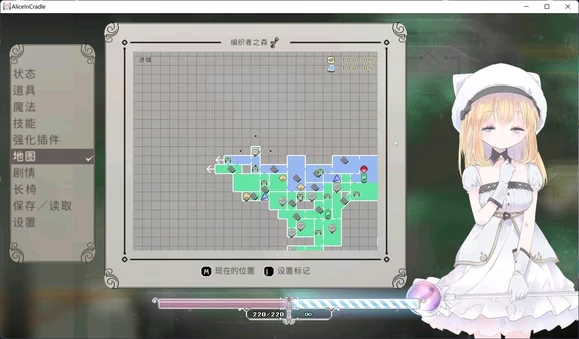
The image above is an in-game monster screenshot. See? This guy is just standing there turret-style. He might not even catch up if you swagger past, so charge ahead confidently.
Toolbox Password & Electrical Box Repair
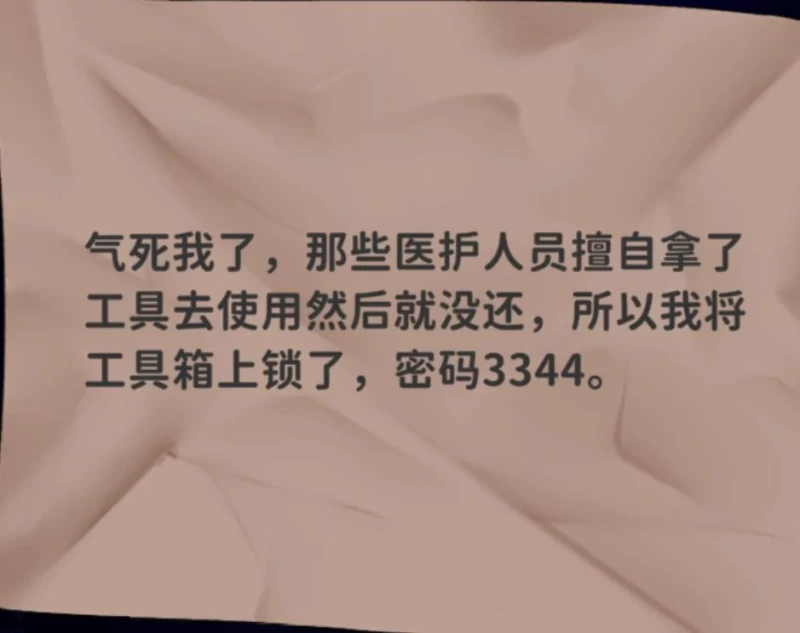
The first thing at the start is opening the toolbox. This password requires combining two paper scraps.
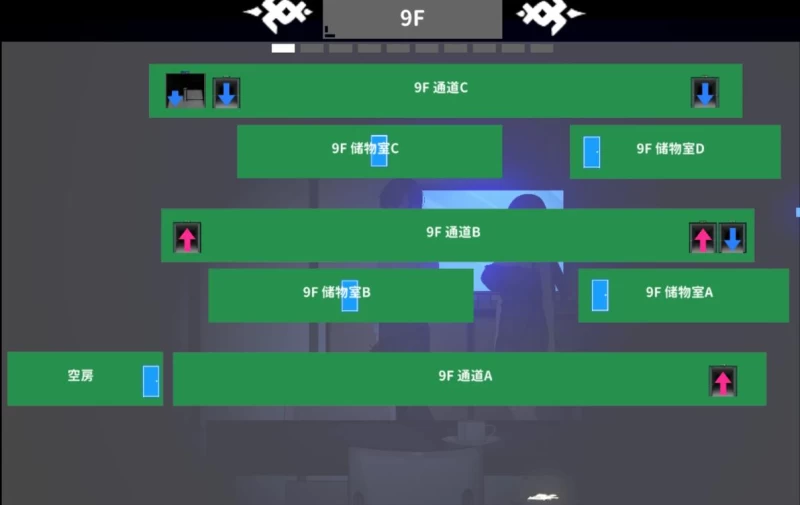
The first scrap is in 9F Storage Room, the second in 8F Office. After grabbing both, they auto-combine into the password - no calculation needed. Once opened, grab the screwdriver - it's specifically for repairing electrical boxes.
The electrical box repair trigger is in front of 8F or 7F elevators - walking past automatically triggers the scene. Repairing is a mini-game. Remember this six-word trick: Connect red wires first, then yellow. Red wires are main circuits, yellow are secondary. Wrong order means restart. There are two more electrical boxes later - identical method. Remember this sequence and breeze through.


The red wire diagram above I drew myself. Red wires have highest priority, yellow second. Follow this logic and finish in three seconds.
ID Card Collection Route for All Floors
ID card collection is key to main story progression - order cannot be mixed. Here's an optimal route:
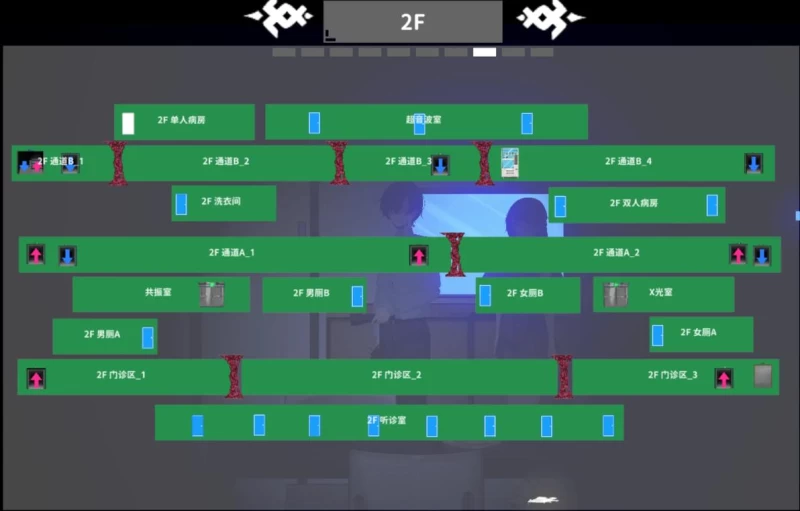
1. 8F Consultation Room Key is in 2F Resonance Chamber. Grab this first, or the 8F door stays locked.
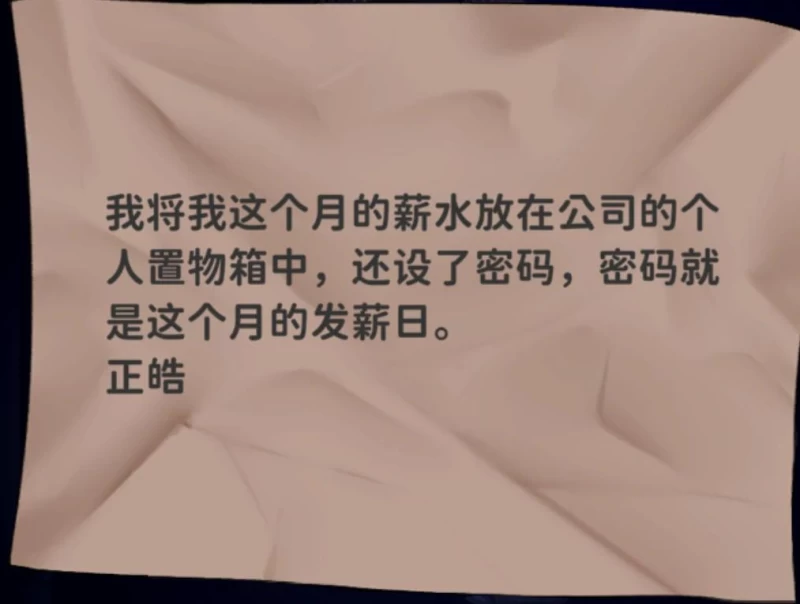
2. Payday password is 0602. This password is in a drawer in 8F Office - just input it.
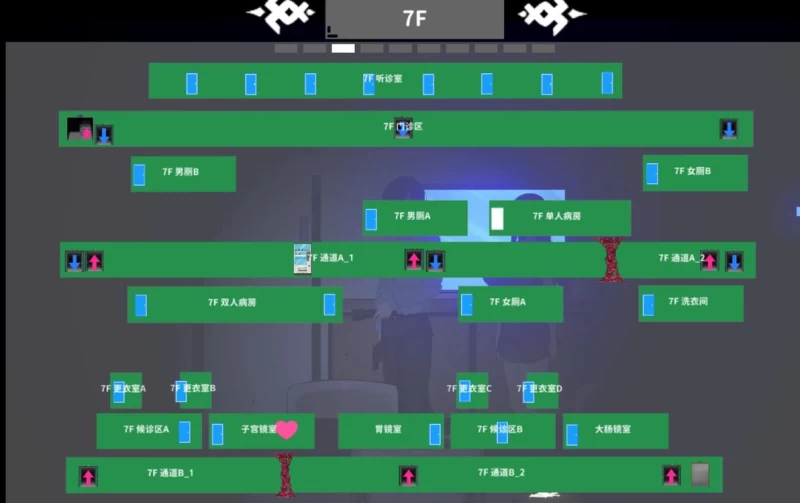
3. 8F Office ID Card is in 7F Laundry Room. This card opens most office doors.

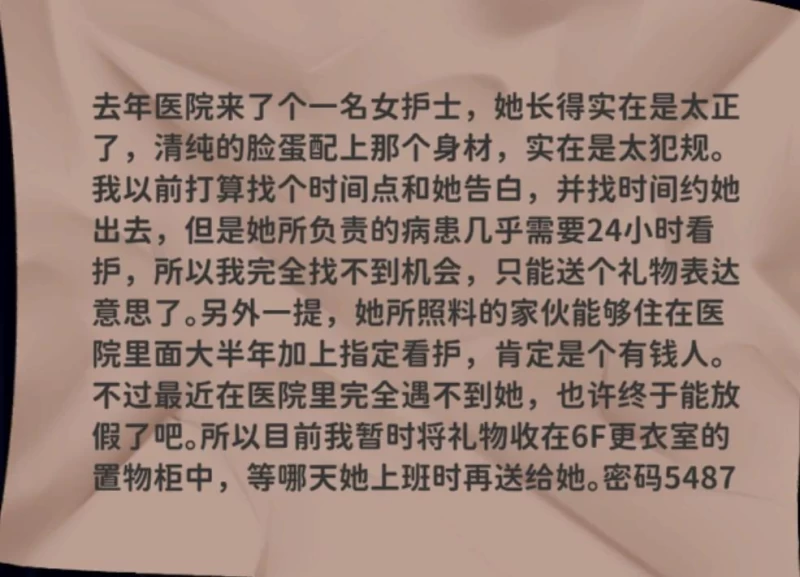
4. From 6F Women's Locker Room you can directly reach 5F. This shortcut saves five minutes of running.

5. Director's Office ID Card is inside the locked 8F Consultation Room, so you must get the key from 2F first.
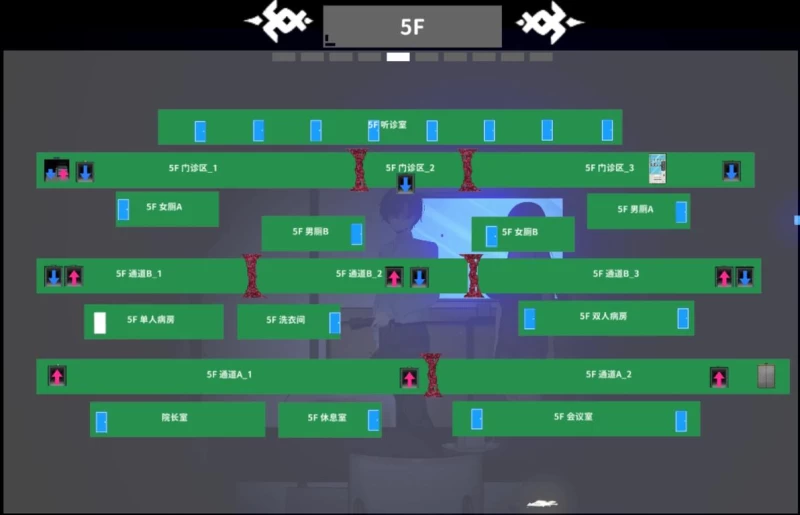
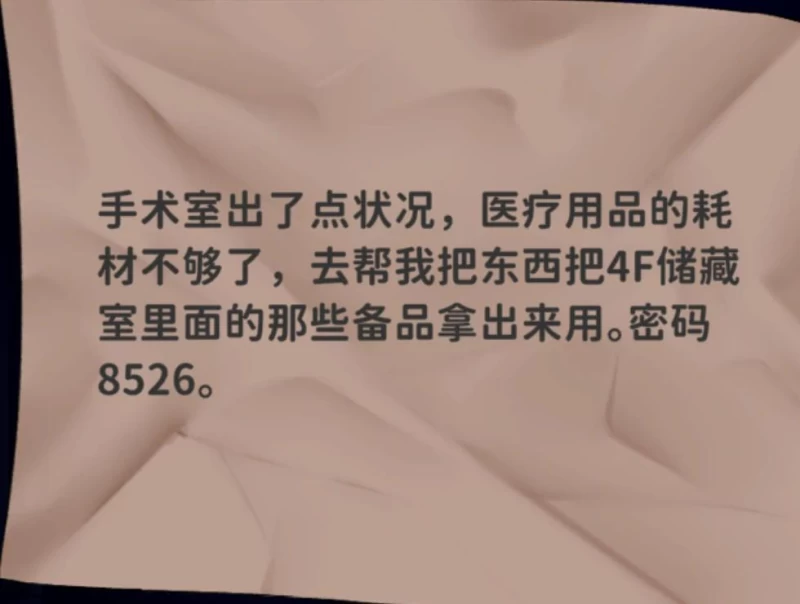
6. 5F Conference Room ID Card is in front of 4F Operating Room. Grab Elevator Button 4F at the far right of Director's Office.

Fuse Locations & Power Restoration
The 4F power restoration mission is the biggest mid-game choke point - six iron gates require four fuses. Here's the fixed order:
Trigger the fuse-finding quest in front of 4F Operating Room.
1. Fuse 1 is in 5F Conference Room - right where you got the ID card, grab it on your way back.
2. Fuse 2 is in 6F Rehabilitation Room - take the elevator up from 5F, turn left after exiting.
3. Fuse 3 is in 4F Women's Restroom - this location is the creepiest, watch out for the mannequin at the door.
4. Fuse 4 is in 4F Single Patient Room - the innermost door, pry it open with the screwdriver.

After inserting all four fuses into the 4F distribution box, all six iron gates on the floor open. Now head straight to Operating Room for Elevator Button 2F, then go to Morgue to Dissection Room route for Elevator Button 1F. These two buttons are keys for lower floor exploration.
Complete Elevator Button Collection
There are five elevator buttons total, distributed across different floors. Collect all to reach the rooftop:
1. Elevator Button 4F: Obtained at far right of Director's Office.
2. Elevator Button 2F: Obtained after powering up 4F Operating Room.
3. Elevator Button 1F: Obtained via Morgue to Dissection Room route.
4. Elevator Button B1: Obtained after draining 1F pool - involves water valve quest.
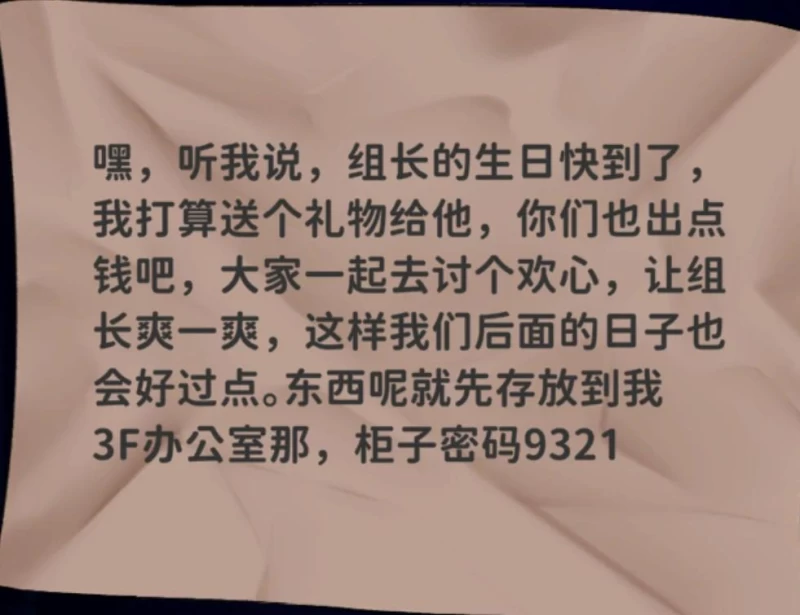
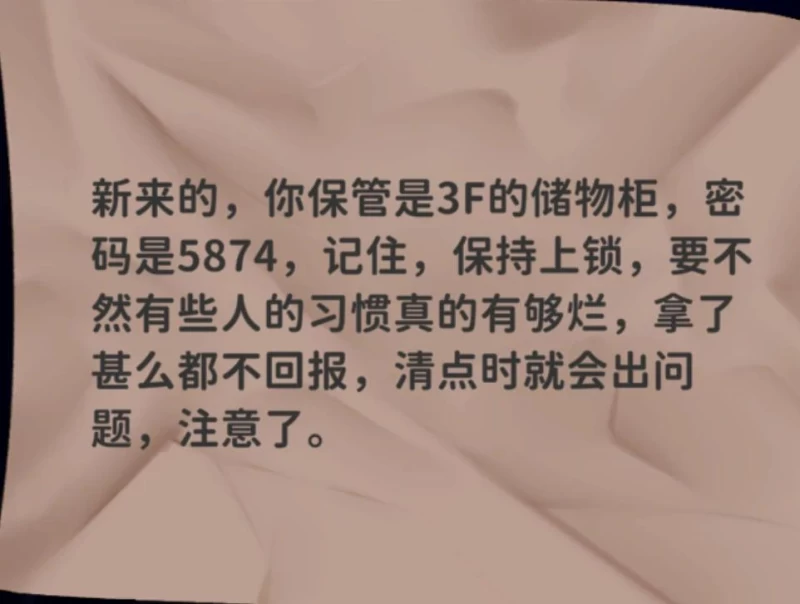
5. Elevator Button 9F: Obtained in 3F Storage Room A - this is the final rooftop button, but requires 1000 Development Progress to activate.
Remember, elevator buttons aren't usable immediately after obtaining - some require specific trigger conditions. Especially 9F button - you must clear all previous quests and grind enough development progress.

Water Valve & Flesh Orb Destruction
The 1F pool quest is a small challenge with two steps:
Step 1: Go to 3F Locker Room and Hyperbaric Chamber for a note indicating water valve location. After getting the note, open the valve for 1F pool - the switch is prominent on the wall.
Step 2: After draining the pool, obtain Elevator Button B1, triggering a monster ambush cutscene. When leaving the pool, the system assigns a quest: Destroy three flesh orbs. Remember this order - don't mess up:
1. First flesh orb in 1F Single Patient Room - right side after entering.
2. Second flesh orb in 1F Registration Area - room behind the registration desk.
3. Third flesh orb in 1F Women's Restroom - last stall.
After destroying all three flesh orbs, the final B1 area opens. This quest has a time limit, but monsters are still dumb - sprinting gives you plenty of time.
B1 Generator & Final Boss
B1 is the final level with two choke points:
First, Analysis Room triggers Storage Room generator repair. This generator has four units requiring individual activation. Key point: time doesn't pause during activation, monsters will move. But don't worry - they're still dumb. Run around the generators and they can't touch you. Activation order doesn't matter - just activate them one by one.

Second, Blood separation task requires pressing R key. Many get stuck here because they don't know to press R. The quest hint is unclear - remember, press R when seeing machines, or the quest won't progress.
The final boss is in B1 Research Room A - that old geezer Director is inside. The boss fight is even simpler: dodge skills + press R to interact. The boss's attack windup is extremely long - run to the side when you see it winding up, it won't hit you. HP isn't thick either - send him packing in a few rounds.
Don't quit after beating the boss. Remember to grab Elevator Button 9F in 3F Storage Room A, then return to lobby and take the elevator to the rooftop. The rooftop requires 1000 Development Progress. If insufficient, grind exploration progress in previous floors by opening drawers - takes just minutes.
The image above shows the final boss location, deepest part of B1. Remember to save before entering - though the boss is easy, the runback is long and annoying if you die.
In summary, Evil Parasite is just a scare-fest with kindergarten-level actual difficulty. Follow this guide, and if you can't clear it in three hours, come find me. All passwords, choke points, and collectibles are here without omission. Go launch the game now and play through it.


Publish Comments